Look around your bench and chances are pretty good that there’s a PCB or scrap of perfboard or even a breadboard sitting there, wires and LEDs sprouting off it, doing something useful and interesting. Taking it to the next level with a snazzy enclosure just seems too hard sometimes, especially if you don’t have access to a 3D printer or laser cutter. But whipping up plastic enclosures can be quick and easy with this simple acrylic bending outfit.
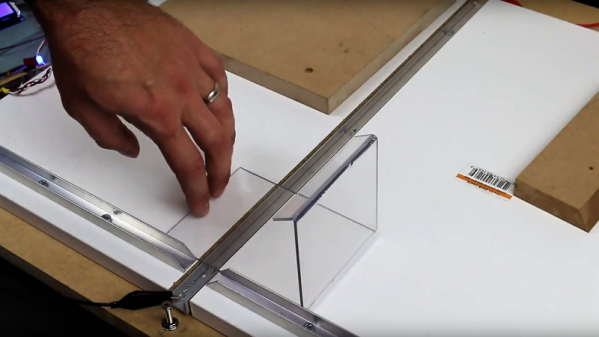
At its heart [Derek]’s bending rig is not much different from any of the many hot-wire foam cutters we’ve featured. A nichrome wire with a tensioning spring is stretched across a slot in a flat work surface. The slot contains an aluminum channel to reflect the heat from the wire upward and to protect the MDF bed; we wonder if perhaps an angle section set in a V-groove might not be more effective, and whether more vertical adjustment range would provide the wider heating area needed for wider radius bends. It works great as is, though, and [Derek] took the time to build a simple timer to control the heating element, for which of course he promptly built a nice looking enclosure.
We can imagine the possibilities here are endless, especially if you use colored acrylic or Lexan and add in some solvent welding. We’ve covered acrylic enclosure techniques before; here’s a post that covers the basics.
Continue reading “Simple Jig Gives Plastic Homes To Orphaned Projects”