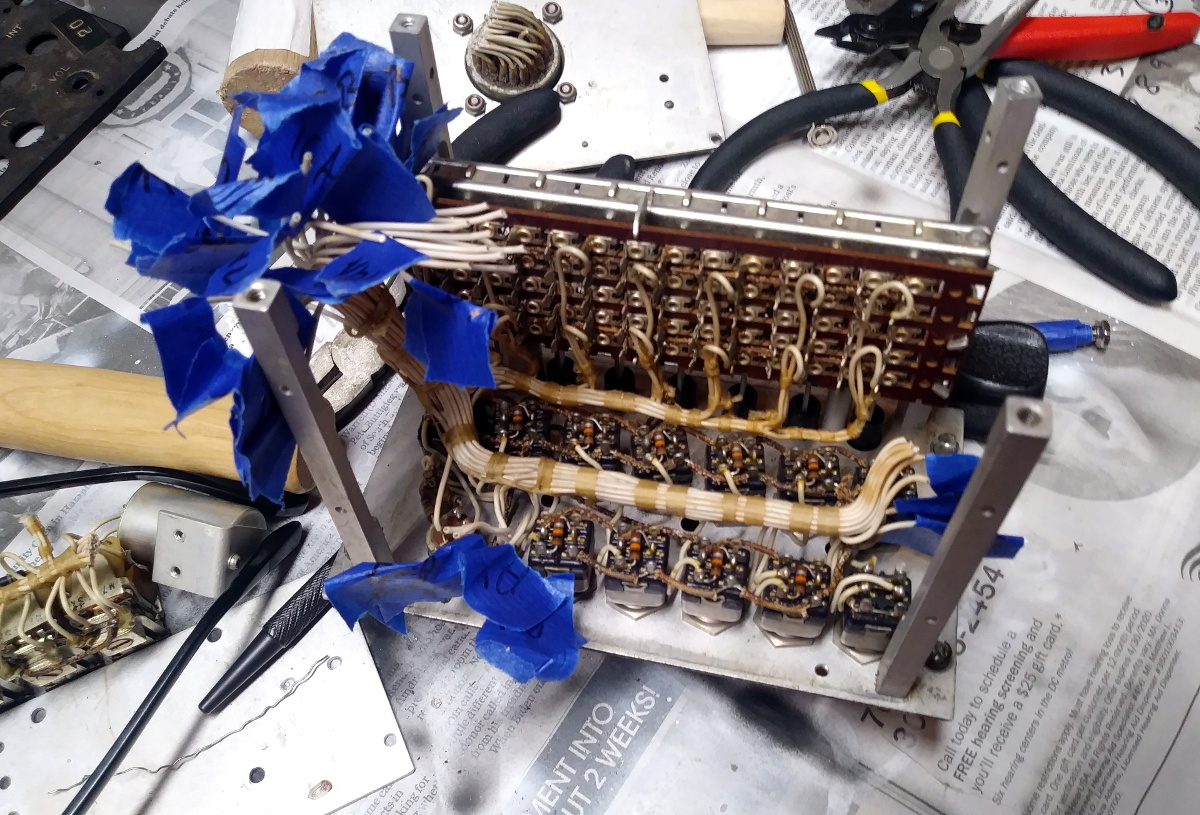
The Gables Engineering G-2789 audio selector panels aren’t good for much outside of the aircraft they were installed in, that is, until [MelkorsGreatestHits] replaced most of the internals with a Teensy 3.2. Now they are multi-functional USB input devices for…well, whatever it is you’d do with a bunch of toggle switches and momentary push buttons hanging off your computer.
With the Teensy going its best impression of a USB game controller, the host operating system has access to seven momentary buttons, twelve toggles, and one rotary axis for the volume knob.
Right now [MelkorsGreatestHits] says the code is set up so the computer sees a button press on each state change; in other words, the button assigned to the toggle switch will get “pressed” once when it goes up and again when it’s flicked back down. But of course that could be modified depending on what sort of software you wanted to interface the device with.
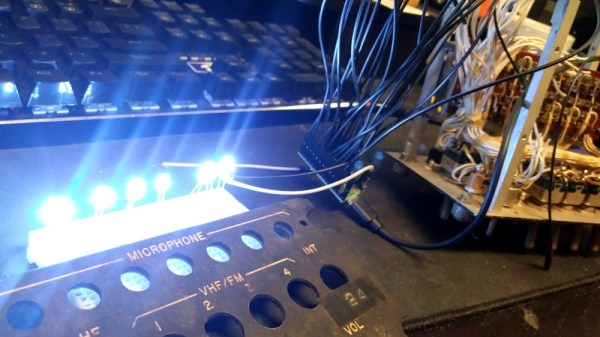
As we’ve seen with other pieces of vintage aircraft instrumentation, lighting on the G-2789 was provided by a series of incandescent bulbs that shine through the opaque front panel material. [MelkorsGreatestHits] replaced those lamps with white LEDs, but unfortunately the resulting light was a bit too harsh. As a quick fix, the LEDs received a few coats of yellow and orange paint until the light was more of an amber color. Using RGB LEDs would have been a nice touch, but you work with what you’ve got.
This isn’t the first time that [MelkorsGreatestHits] has turned an old aircraft cockpit module into a USB input device, and we’re certainly interested in seeing what the next project will look like. Though we’re perhaps more interested in finding out where all all these old school airplane parts are coming from…