Slow 3.5″ Raspberry Pi LCD Hacked To 40 MHz With ESP8266

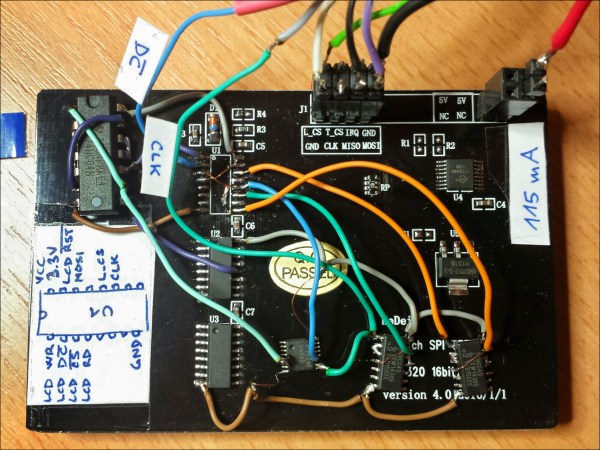
As microcontrollers become more and more common, we see more ways to get a lot of performance out of one chip. A great example of this was the ESP8266 which was originally seen as a cheap WiFi card but has since blossomed into its own dev platform thanks to the horsepower hidden within. To that end, [Martin] is trying to push the now-ubiquitous WiFi chip even further by rolling out his own LCD driver for it from scratch.

The display of choice is the KeDei LCD 3.5″ module which was originally intended for use with a Raspberry Pi. [Martin] points out that this display isn’t optimized for speed, but after everything is said and done he has its clock line running at 40 MHz. To get this kind of speeds from the LCD, he depopulates the first shift register and adds his own fast-propagation circuit to establish a more-traditional serial addressing mode. With use of a WLCD driver that [Martin] also wrote, it is now relatively easy to draw on the screen very quickly with an ESP module. Check it out in the video below.

If you’re looking for your own tiny, cheap, fast display, this is one cool way to do it but we would suggest spinning a carrier board for both the ESP and the added circuitry. We’re looking forward to future projects which puts devices like these inside of really tiny magic mirrors, or uses them in other places where a small graphical display would be handy.

Continue reading “Slow 3.5″ Raspberry Pi LCD Hacked To 40 MHz With ESP8266”

Vote With Your Feet

Gamifying life is silly, fun, and a great way to interact with those strangers who you pass everyday. Here’s one example that might just pop up along your next walk to work. It’s a way to take a very unscientific straw poll on any topic — you won’t even have to use your hands to cast a ballot.

A group called [Vote With Your Feet] has come up with a novel way of casting ballots. Simply walk down the sidewalk and through one of two doorways, each labeled with either side of a dichotomy. Each doorway is able to count the number of people that pass through it, so any issue imaginable can be polled. They already did vim vs emacs (59 to 27),  and we’d like to see Keynes vs Hayek, or even Ovaltine vs Nesquik. Users can send the machine new issues for the masses to vote on, so the entertainment is quite literally limited only by your imagination.

thumbThe physical build is well documented. Since this is used outside, the choice of a flipdot display (of course always fun to play with) is perfect for this high-contrast in any level of light. Each doorway has a break-beam sensor which is monitored by the Raspberry Pi driving the overhead display (here’s code for it all if you want to dig in).

The point of this art installation like this is to get people to interact with their environment in a novel way, which this project has accomplished exceptionally well. In 3 days, they registered over 10,000 votes which are viewable on their website. If you have a project in mind that calls for data visualization you might want to keep this in your back pocket.

We have also seen other ways that doorways can count people outside of voting, if you’re looking for any inspiration yourself.

Sunrise Alarm Clock With Organic Twist

Most hardware hackers have a clock project or two under their belt. A pretty common modification to a generic clock is to add lights to it, and if the clock has an alarm feature, it’s not too big of a stretch to try to get those lights to simulate a sunrise for a natural, peaceful morning alarm. The problem that a lot of us run across, though, is wiring up enough LEDs with enough diffusion to make the effect work properly and actually get us out of bed without an annoying buzzer.

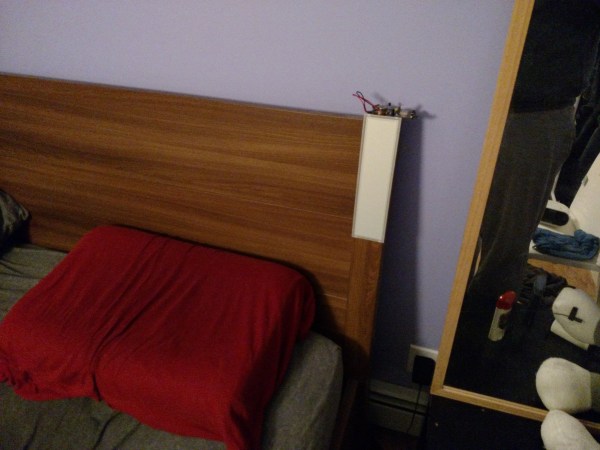
Luckily for all of us, [jarek319] came up with an elegant and simple solution that should revolutionize all future sunrise alarm clock builds. He found a cheap OLED display and drove it with an LM317 voltage regulator. By driving the ADJ pin on the regulator, he was able to effectively drive the OLED with a makeshift PWM signal. This allows the OLED’s brightness to be controlled. [jarek319] threw some NTP code up on an ESP12E and did a little bit of programming for the alarm, and the problem is solved.

While an OLED is pretty much the perfect solution for a sunrise alarm clock, if you have a problem sourcing one or are just looking for an excuse to use up a strip of addressable LEDs, you can build a sunrise alarm clock out of almost any other light source.

Touchless MIDI: The Secret’s In The Mitten

MIDI is a great tool for virtually any musician. Unless you’re a keyboard player, though, it might be hard to use it live. [Evan] recently came up with a great solution for all of the wistful guitar players out there who have been dreaming of having a MIDI interface as useful as their pianist brethren, though. He created a touchless MIDI controller that interfaces directly with a guitar.

Continue reading “Touchless MIDI: The Secret’s In The Mitten”

Harpsi-Gourd Gets You Into Thanksgiving Spirit

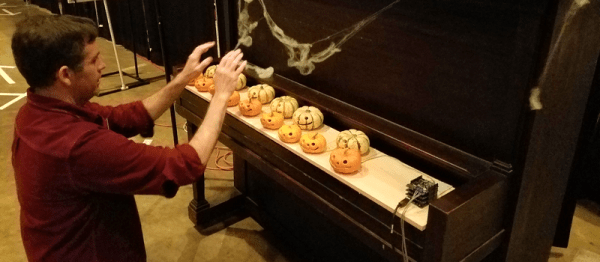
Halloween might be over, but for some of us there’s still another pumpkin-centric holiday right around the corner to give us an excuse to build projects out of various gourds. During a challenge at a local event, [Michael] came up with a virtual cornucopia of uses for all of the squashes he had on hand and built a touch-sensitive piano with all of them.

The musical instrument was dubbed the Harpsi-Gourd and makes extensive use of the Arduino touch-sensitive libraries. Beyond that, the project was constructed to be able to fit into a standard sized upright piano. While only 15 pumpkins are currently employed, the instrument can be scaled up to 48 pumpkins. Presumably they would need to be very small for the lid of the piano to still close.

The Harpsi-Gourd is a whimsical re-imagining of the original Makey Makey which can be used to do all kinds of things, including play Mario Bros. There are all kinds of other food-based musical instruments at your disposal as well, though.

Building Transistors With Transistors

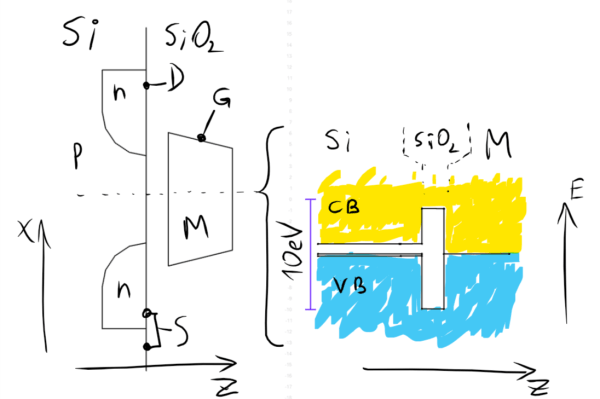
Since the 1940s when the first transistor was created, transistors have evolved from ornery blocks of germanium wrangled into basic amplifiers into thousands and thousands of different devices made of all kinds of material that make any number of electrical applications possible, cheap, and reliable. MOSFETs can come in at least four types: P- or N-channel, and enhancement or depletion mode. They also bear different power ratings. And some varieties are more loved than others; for instance, depletion-mode, N-channel power MOSFETs are comparatively scarce. [DeepSOIC] was trying to find one before he decided to make his own by hacking a more readily available enhancement-mode transistor.

For those not intimately familiar with semiconductor physics, the difference between these two modes is essentially the difference between a relay that is normally closed and one that’s normally open. Enhancement-mode transistors are “normally off” and are easy to obtain and (for most of us) useful for almost all applications. On the other hand, if you need a “normally on” transistor, you will need to source a depletion mode transistor. [DeepSOIC] was able to create a depletion mode transistor by “torturing” the transistor to effectively retrain the semiconductor junctions in the device.

If you’re interested in semiconductors and how transistors work on an atomic level, [DeepSOIC]’s project will keep you on the edge of your seat. On the other hand, if you’re new to the field and looking to get a more basic understanding, look no further than these DIY diodes.

Etching Your Own Metal

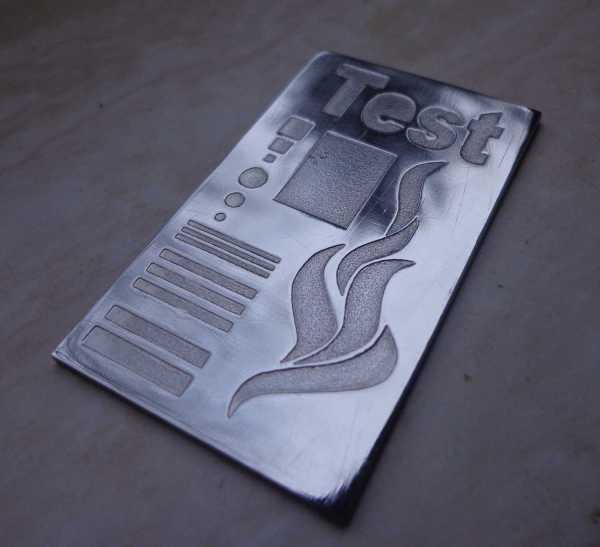
It’s been said that with enough soap, one could blow up just about anything. A more modern interpretation of this thought is that with enough knowledge of chemistry, anything is possible. To that end, [Peter] has certainly been doing a good job of putting his knowledge to good use. He recently worked out a relatively inexpensive and easy way to etch metals using some chemistry skill and a little bit of electricity.

After preparing a set of stencils and cleaning the metal work surface, [Peter] sets his work piece in a salt solution. A metal bar is inserted in the other end of the bath, and both it and the work piece are connected to electrodes. The flow of electricity removes some metal from the exposed work surfaces, producing whatever patterns [Peter] wants.

One interesting thing that [Peter] found is that the voltage must stay under 6 volts. This is probably part of the reason it’s relatively easy to etch with even a wall wort. Above that, the iron work piece produces a different ion which can clog the work surface and create undesirable effects. Additionally, since his first experiments with this process he has upgraded the salt bath with magnetic stirrers. He also gets the best results in a very cold environment.

There are many other uses for etching metals, too. Creating your own printed circuit boards comes to mind, but there are plenty of other uses as well. What will you do with this technique?