Of the $11.7 million companies lose to cyber attacks each year, an estimated 90% begin with a phone call or a chat with support, showing that the human factor is clearly an important facet of security and that security training is seriously lacking in most companies. Between open-source intelligence (OSINT) — the data the leaks out to public sources just waiting to be collected — and social engineering — manipulating people into telling you what you want to know — there’s much about information security that nothing to do with a strong login credentials or VPNs.
There’s great training available if you know where to look. The first time I heard about WISP (Women in Security and Privacy) was last June on Twitter when they announced their first-ever DEFCON Scholarship. As one of 57 lucky participants, I had the chance to attend my first DEFCON and Black Hat, and learn about their organization.
Apart from awarding scholarships to security conferences, WISP also runs regional workshops in lockpicking, security research, cryptography, and other security-related topics. They recently hosted an OSINT and Social Engineering talk in San Francisco, where Rachel Tobac (three-time DEFCON Social Engineering CTF winner and WISP Board Member) spoke about Robert Cialdini’s principles of persuasion and their relevance in social engineering.
Cialdini is a psychologist known for his writings on how persuasion works — one of the core skills of social engineering. It is important to note that while Cialdini’s principles are being applied in the context of social engineering, they are also useful for other means of persuasion, such as bartering for a better price at an open market or convincing a child to finish their vegetables. It is recommended that they are used for legal purposes and that they result in positive consequences for targets. Let’s work through the major points from Tobac’s talk and see if we can learn a little bit about this craft.
Continue reading “Airport Runways And Hashtags — How To Become A Social Engineer”
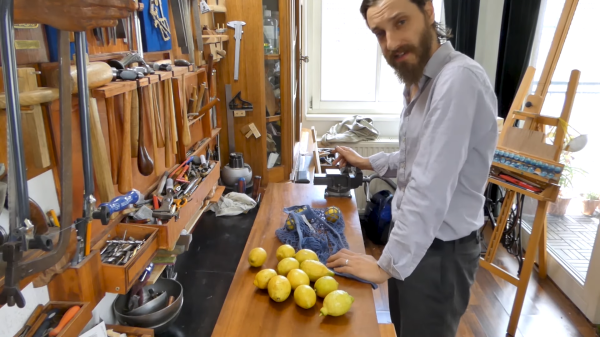
 But mushrooms, I do know a little bit about, so firstly, a bit about health and safety:

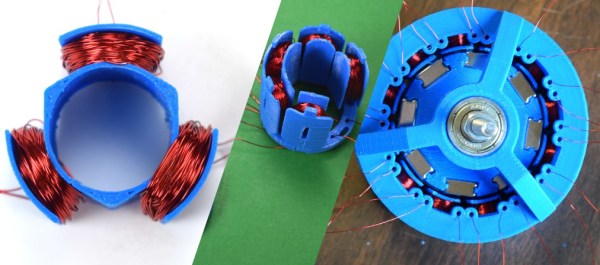
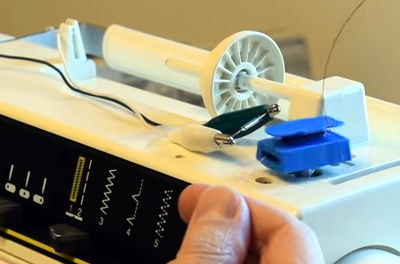 The fun of this project is copying the components found in the commercial hardware and varying the windings and coil count to see how it affects performance. If you have ever wound magnet wire around a nail to make an electromagnet, you know it is tedious work so check out their 3D printed coil holder with an embedded magnet to trigger a winding count and a socket to fit on a sewing machine bobbin winder. If you are going to make a bunch of coils, this is going to save headaches and wrist tendons.