
Over on their substack [ObsoleteSony] has a new article: The Last Disc: How Blu-ray Won the War but Lost the Future.
In this article the author takes us through the history of Blu-ray media and how under Sony’s stewardship it successfully defeated the competing format of the time, HD DVD. Sony started behind the eight ball but through some deft maneuvering managed to come out on top. Perhaps the most significant contributing factor was the inclusion of Blu-ray drives in the PlayStation 3.
The person leading the Blu-ray initiative for Sony was Masanobu Yamamoto, whose legacy was the compact disc. What was needed was a personal media format which could deliver for high-definition 1080p video. As the DVD format did not have the storage capacity required, new formats needed to be developed. The enabling technology for both Blu-ray and HD DVD media was the blue laser as it allowed for more compact encoding.
Sony’s Blu-ray format became the dominating format for high-definition personal media…just as physical media died.
Thanks to [Stephen Walters] for writing in about this one.


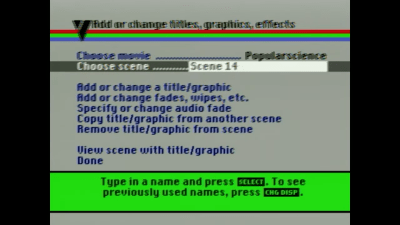 Once assembled, the system resembled a spaghetti junction of cables and clunky commands. One wrong button press could erase precious minutes of hard-won footage. Still, the determination of DIY pioneers drove the machine’s success, setting the stage for the plug-and-play ease we now take for granted.


