Automated Syrup System Is Sweet Sweet Madness

Here at Hackaday we are big fans of the TV show, “How It’s Made”. It’s not much of a stretch to assume that, as somebody who is currently reading this site, you’ve probably seen it yourself. While it’s always interesting to see the behind the scenes process to create everyday products, one of the most fascinating aspects of the show is seeing how hard it is to make things. Seriously, it’s enough to make you wonder how companies are turning a profit on some of these products when you see just how much technology and manual work is required to produce them.
That’s precisely the feeling we got when browsing through this absolutely incredible overview of how [HDC3] makes his maple syrup. If that’s not a sentence you ever thought you’d see on Hackaday, you aren’t alone. But this isn’t a rusty old pail hanging off of a tap, this is a high-tech automated system that’s capable of draining 100’s of gallons of sap from whole groves of trees. We’ll never look at a bottle of syrup in the store the same away again.

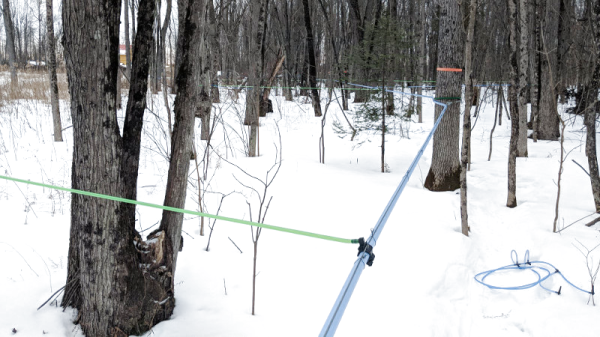
It all starts with hundreds of tiny taps that are drilled into the trees and connected to a network of flexible hoses. The plumbing arrangement is so complex that, in certain, areas high tension support wires are necessary to hold up the weight of the hoses and their sweet contents. The main hose leads to an Arduino-powered collection station which maintains a 100 kPa (29 inHg) vacuum throughout the entire system.

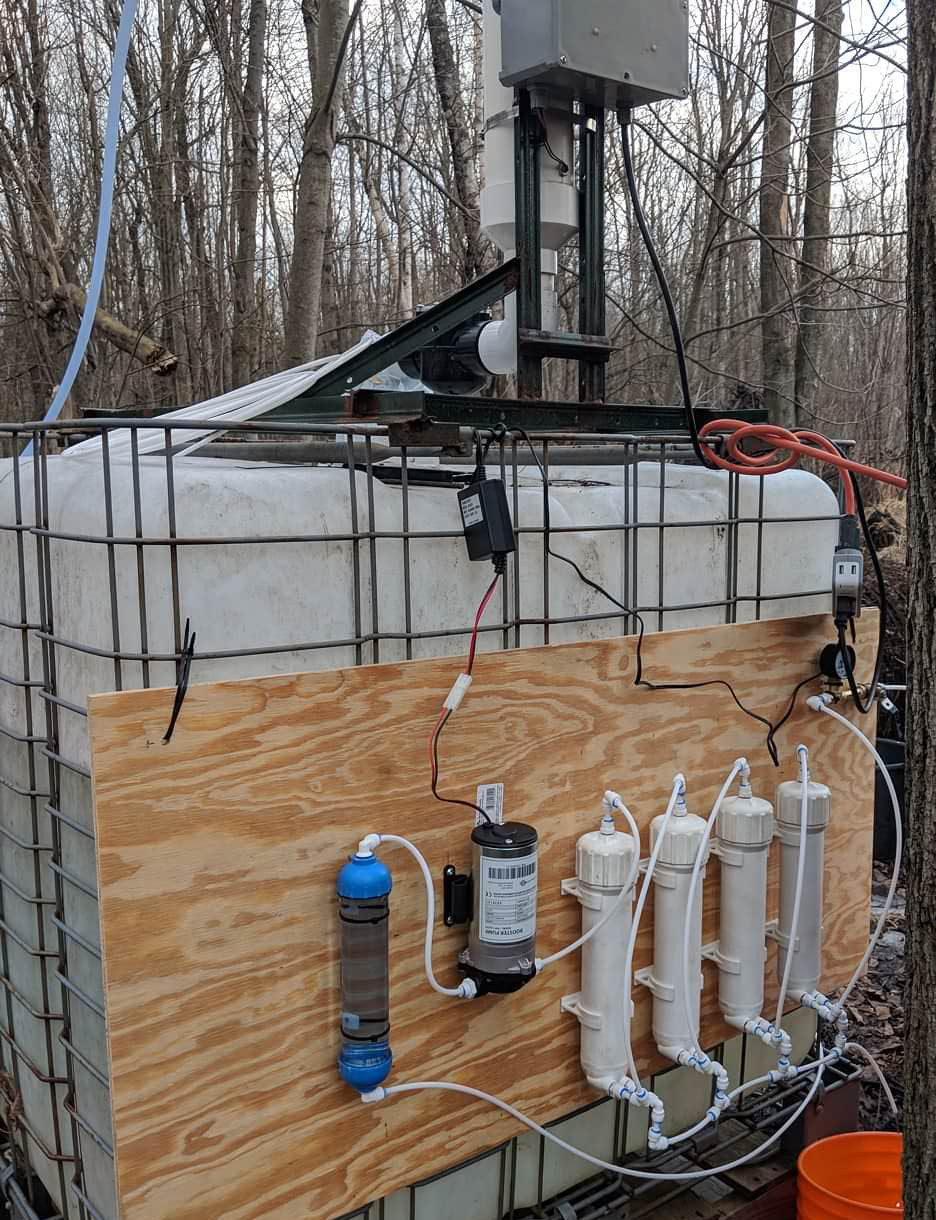
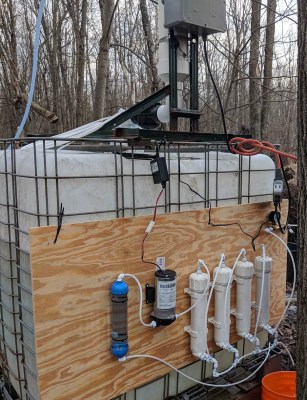
The sap is temporarily held in a 250 gallon container, but at this point it’s still just that: sap. It needs to be refined into something suitable for putting on your pancakes. The first step of that process utilizes a reverse osmosis filtration system to pull the water out of the sap and increase its sugar concentration. [HDC3] says the filtration system is built from eBay scores and parts from the home improvement store, and it certainly looks the part of something that would be under a kitchen sink. This system is able to increase the sugar concentration of the sap from around 2% as it comes out of the trees to 8%. But it’s still a far way off from being ready to use.
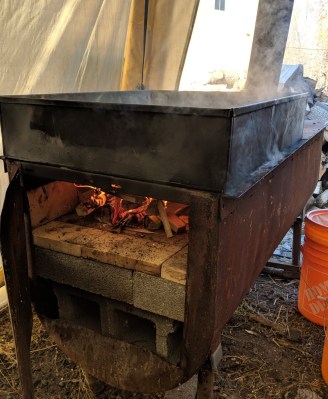
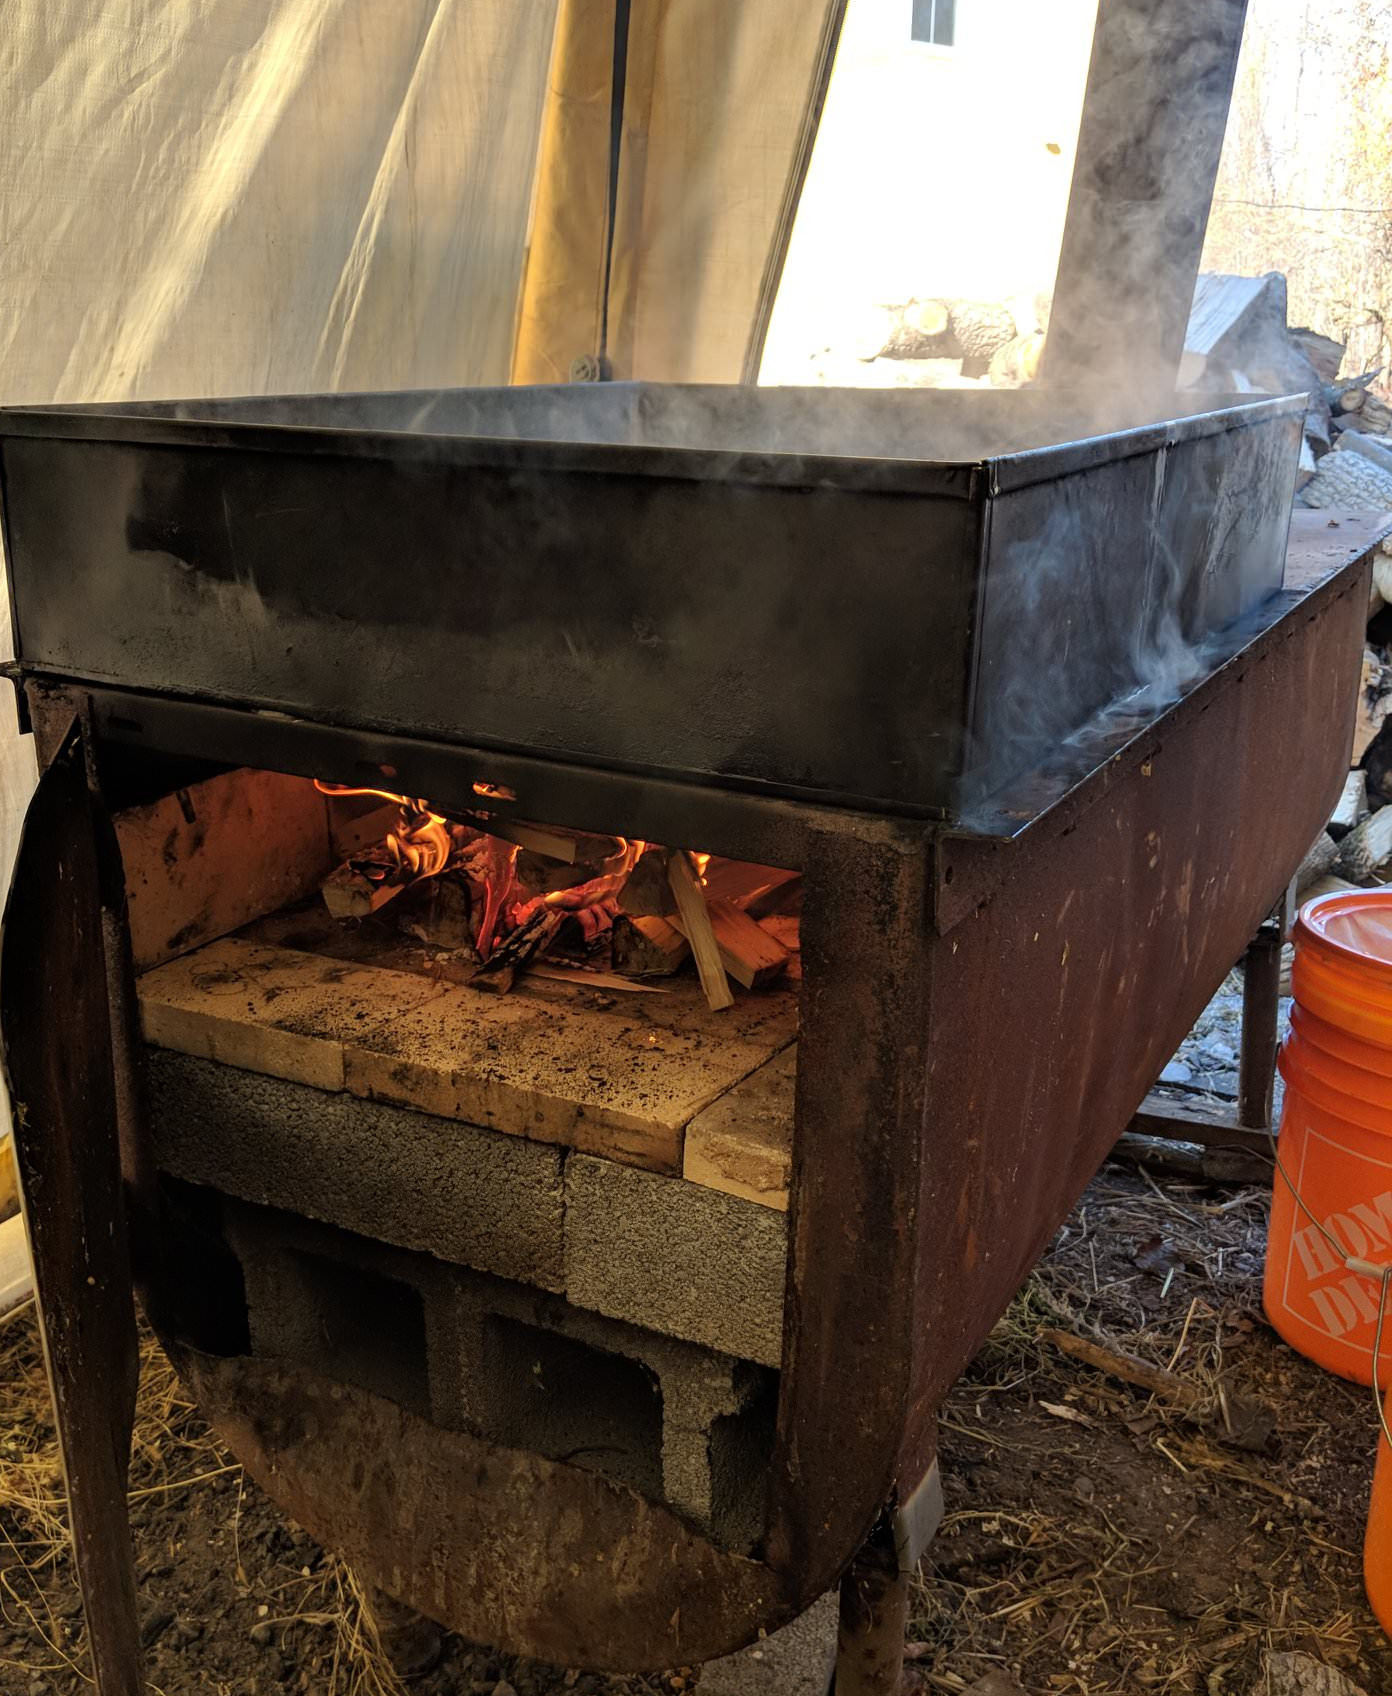
Interestingly enough, the last steps of the process are about as old-school as they come. The semi-concentrated sap is placed in a long low metal pan, and heated over a wood fire to drive off more of the water. This process continues until the sap is roughly 60% sugar, at which point it is filtered and moved into the house to finish boiling on the stove.

All told, the syrup is boiled for eight hours to bring its sugar content up to 66%. Even with the improvements [HDC3] has made to the system, he reveals that all this hard work only results in slightly more than a half-gallon of final syrup. Talk about dedication.

It probably comes as no surprise that this is the first time Hackaday has ever run a story about producing maple syrup. However we’ve seen a number of automated beer brewing systems that seem to have been tackled with similar zeal. There’s probably a conclusion to be drawn there about the average hacker’s diet, but that’s a bit outside our wheelhouse.

[via /r/DIY]

Using Lasagna To Make Cost-Saving Molds

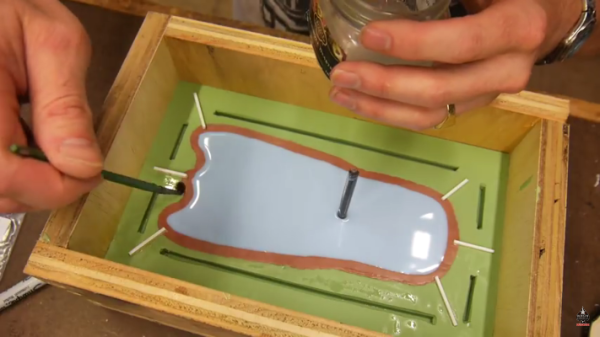
Building a one-off prototype is usually pretty straightforward. Find some perfboard and start soldering, weld up some scrap metal, or break out the 3D printer. But if you’re going to do a production run of a product then things need to have a little more polish. In [Eric Strebel]’s case this means saving on weight and material by converting a solid molded part into something that is hollow, with the help of some lasagna.

What [Eric] walks us through in this video is how to build a weep mold. First, the solid part is cast in silicone. Using the cast, some “sheet clay” is applied to the inside which will eventually form the void for the new part’s walls. The clay needs to be flush with the top of the mold, though, and a trick to accomplish this task is to freeze the mold (next to the lasagna) which allows the clay to be scraped without deforming.

From there, the second half of the mold is poured in, using special channels that allow the resin to “weep” out of the mold (hence the name). This two-part process creates a much more efficient part with thin walls, rather than the expensive solid prototype part.

[Eric] is no stranger around these parts, either. He’s an industrial designer with many tips and tricks of the profession, including a method for building a machining tool out of a drill press and a vise as well as some tips for how to get the most out of a low-volume production run of a product you might be producing.

Continue reading “Using Lasagna To Make Cost-Saving Molds”

Taking A Guitar Pedal From Concept Into Production

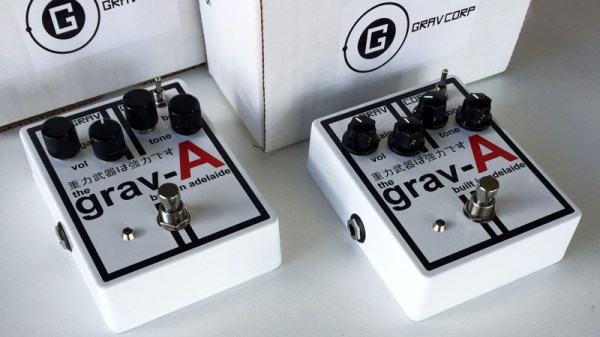
Starting a new project is fun, and often involves great times spent playing with breadboards and protoboards, and doing whatever it takes to get things working. It can often seem like a huge time investment just getting a project to that functional point. But what if you want to take it to the next level, and take your project from a prototype to a production-ready form? This is the story of how I achieved just that with the Grav-A distortion pedal.

Why build a pedal, anyway?

The author, shown here with bandmates.

A long time ago, I found myself faced with a choice. With graduation looming on the horizon, I needed to decide what I was going to do with my life once my engineering degree was squared away. At the time, the idea of walking straight into a 9-5 wasn’t particularly attractive, and I felt like getting back into a band and playing shows again. However, I worried about the impact an extended break would have on my potential career. It was then that I came up with a solution. I would start my own electronics company, making products for musicians. Continue reading “Taking A Guitar Pedal From Concept Into Production”

Less Than Production, More Than One-Offs

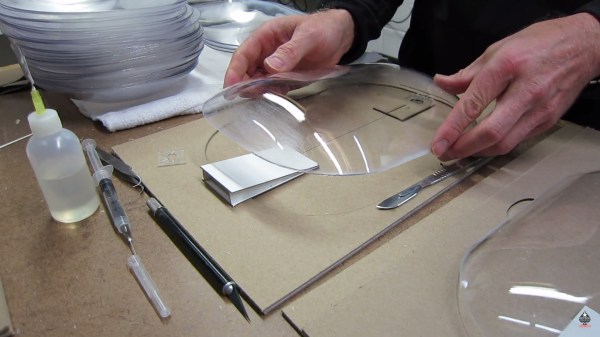
We build things we think are cool. Sometimes, other people agree with us and they want a copy of what we’ve built. If you’re lucky enough to have an enviable product but you’re not ready for full-scale manufacturing, you may be looking at a low-volume production run. [Eric Strebel] walks us through one such instance where he makes some custom color swatches for a show. Video after the break.

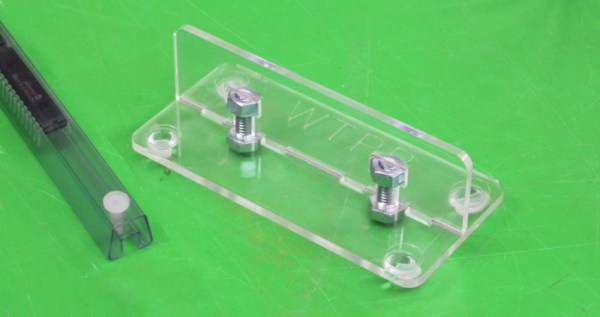
[Eric Strebel] is an industrial designer so he plays to his strengths by designing the swatch shape, jig, tool, and hangers. He hires out the painting, laser cutting, and CNC machining. This may seem like a simple statement but some of us have a hard time paying other people for things we’re capable of learning. In some cases, we just have to pay the professionals to do it correctly and keep our focus.

The mentality of small runs in this video is perfect for people who sell on Tindie or want to make more than a handful of consistently nice parts. Our own [Lewin Day] recently talked about his experience with a run of 200 mixers called gMix.

Continue reading “Less Than Production, More Than One-Offs”

Automate Wire Prep With A Robot Wire Cutter

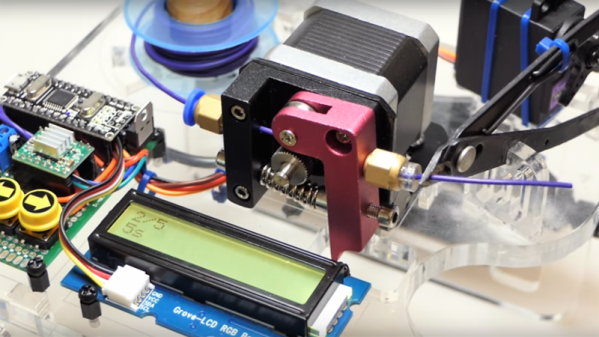
When you move from one-off builds to production scale, perhaps to meet that Kickstarter commitment or to keep your Tindie store stocked, you’re going to need to tool up. Jobs like building wiring harnesses can be tedious and time-consuming, so outsourcing them to this robot wire cutter might be a good idea.

The video below tells the whole tale of this build, which despite the fact that [Maclsk] seems to have put it together quickly from scrap bin parts still looks pretty professional. The business end of the machine is a 3D printer extruder, minus the hot end, of course. A Nano controls the extruder’s stepper to shoot out the right length of wire, as well as the servo that squeezes the snippers. An LCD display and some pushbuttons provide the UI that rounds out the build. Tell it how long and how many, and you’ll be ready to build. We can see how this might be upgraded to strip the wires as well, although getting both ends stripped might be tricky.

Might this component tape-cutting robot from a few weeks back have inspired [Maclsk]’s build? Perhaps, but in any case, both are fun to watch.

Continue reading “Automate Wire Prep With A Robot Wire Cutter”

Reuleaux Coaster

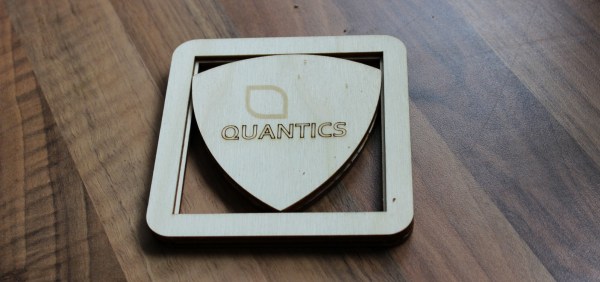
What’s better than a cool build? A cool build with valuable advice! Add a few flashy pictures and you have [Martin Raynsford]’s Reuleaux triangle coasters blog post. [Martin Raynsford] wanted to share his advice about the importance of using jigs and we’re sold. He was able to make 100 coasters in a single day and if he’s like us, after number ten, the work gets a little hurried and that is when mistakes are made.

Jig is a broad term when it comes to tooling but essentially, it holds your part in place while you work on it. In this case, a jig was made to hold the coaster pieces while they were glued together. [Martin Raynsford] didn’t need any registration marks on the wood so even the back is clean. If you look closely, the coaster is two parts, the frame and the triangle. Each part is three layers and they cannot separated once the glue dries. If any part doesn’t line up properly, the whole coaster is scrap wood.

This robot arm engraved 400 coasters in a day but maybe you would prefer if you simply had your beer delivered to your new coasters.

Continue reading “Reuleaux Coaster”

Rushing The Design And Construction Of LED Centerpieces

‘Dragon Flame’ RGB LED table centerpieces, by [Alex Lao]
Sometimes the most important thing is getting something done.

[Alex Lao] was recently in such a situation. His sister was getting married and he designed, built, and delivered twenty RGB LED table centerpieces in a rush. There were no prototypes made, and when the parts arrived all twenty were built all at once over a single weekend. These table centerpieces are illuminated by RGB LEDs and battery-powered, but have an option to be powered by a wall adapter.

[Alex] helpfully shared some tips on reducing the production risks and helping ensure results in such a limited time frame. His advice boils down to this: reduce the unknowns. For Alex this meant re-using code and components from a previous project — even if they were not optimal — so that known-good schematic and footprint libraries could be used for the design.

From one perspective, the PIC32 microcontroller inside each lamp is overkill for an LED centerpiece. From another perspective, it was in fact the perfect part to use because it was the fastest way for [Alex] to get the devices working with no surprises.

For an added perspective on needing to get production right the first time on a much larger scale, be sure to check out getting an installation made up of 25,000 PCBs right the first time.