
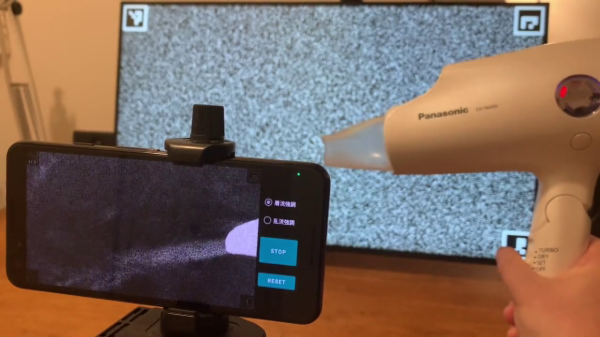
[greenluigi1] bought a Hyundai Ioniq car, and then, to our astonishment, absolutely demolished the Linux-based head unit firmware. By that, we mean that he bypassed all of the firmware update authentication mechanisms, reverse-engineered the firmware updates, and created subversive update files that gave him a root shell on his own unit. Then, he reverse-engineered the app framework running the dash and created his own app. Not just for show – after hooking into the APIs available to the dash and accessible through header files, he was able to monitor car state from his app, and even lock/unlock doors. In the end, the dash got completely conquered – and he even wrote a tutorial showing how anyone can compile their own apps for the Hyundai Ionic D-Audio 2V dash.
In this series of write-ups [greenluigi1] put together for us, he walks us through the entire hacking process — and they’re a real treat to read. He covers a wide variety of things: breaking encryption of .zip files, reprogramming efused MAC addresses on USB-Ethernet dongles, locating keys for encrypted firmware files, carefully placing backdoors into a Linux system, fighting cryptic C++ compilation errors and flag combinations while cross-compiling the software for the head unit, making plugins for proprietary undocumented frameworks; and many other reverse-engineering aspects that we will encounter when domesticating consumer hardware.
This marks a hacker’s victory over yet another computer in our life that we aren’t meant to modify, and a meticulously documented victory at that — helping each one of us fight back against “unmodifiable” gadgets like these. After reading these tutorials, you’ll leave with a good few new techniques under your belt. We’ve covered head units hacks like these before, for instance, for Subaru and Nissan, and each time it was a journey to behold.


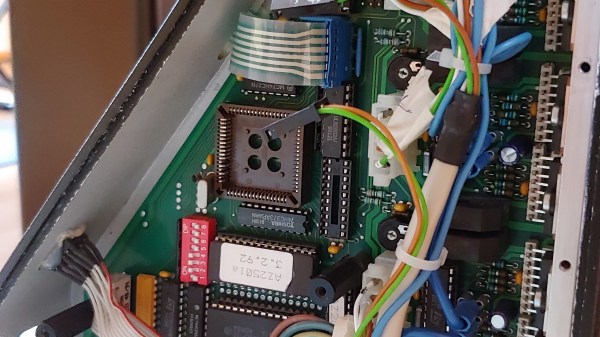
 They reverse-engineered the motor driver connections – those go through a 74HC245 buffer between the original CPU and the drivers. Initially, they put an Arduino inside the control box of the CNC and it fit nicely, but it turned out the Arduino’s CPU would restart every time the spindle spun up – apparently, EMC would rear its head. So, they placed the Arduino out of the box, and used two CAT7 cables to wire up the motor and endstop signals to it.
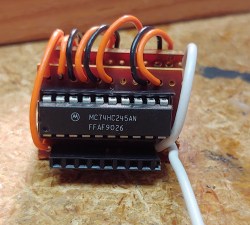


