What happens when you come across a mysterious, partially populated circuit board in the Huaqiangbei electronics market in Shenzhen? If you’re [Scotty Allen], the only answer is to make your own USB drive from iPhone parts.
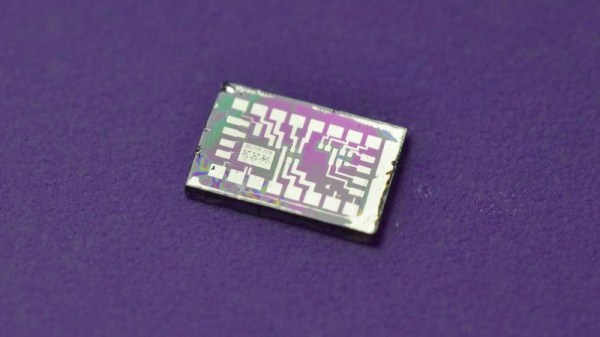
[Scotty] made a name for himself through his YouTube channel Strange Parts where he built his own iPhone from scratch, added a headphone jack to an iPhone, and other various exploits involving hot air in Shenzhen. This latest build is no different. It begins with a random PCB [Scotty] found at the electronics market. It has a USB port on one end, it has pads for an iPhone memory chip, and it has an IC that looks like a USB to Flash converter.
The build involved finding a few broken iPhones, desoldering and reballing their Flash chips, and when those didn’t work, finding the correct Flash chips for this tiny little USB adapter board. Here, [Scotty] ran into trouble. The first Flash chip didn’t have the right pins, there was blue smoke, and the toolchain for initializing the USB to Flash IC was a mess.
In the end, [Scotty] managed to create a USB Flash drive after five or six visits to the electronics market, two stencils to reball Flash chips, and finding the OEM software for the USB to Flash chip on this very special PCB. That, itself, required Windows (the horror!), and finding the right version of the software.
Is this technically building a Flash drive purely from disposed iPhone components? We’d quibble. But is it a cool build, regardless? Absolutely. And the real story here is how quickly [Scotty] could iterate on his engineering. When the greatest electronics market is right around the corner, you can do anything with a microscope and a hot air gun.