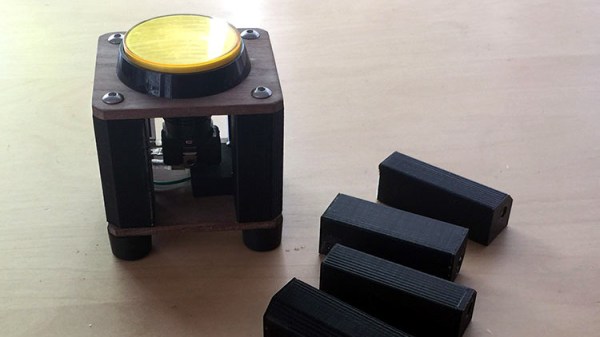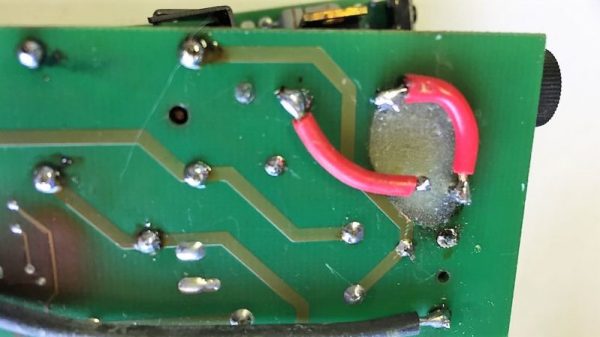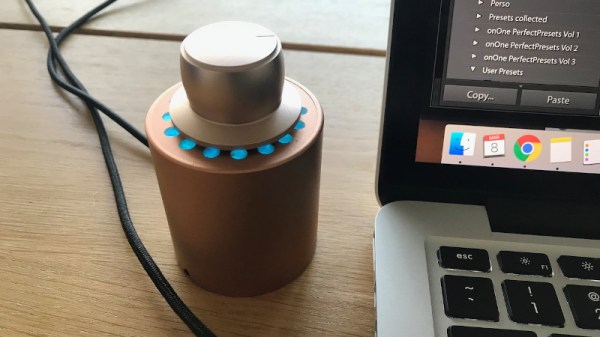
The keyboard and mouse are great, we’re big fans. But for some tasks, such as seeking around in audio and video files, a rotary encoder is a more intuitive way to get the job done. [VincentMakes] liked the idea of having a knob he could turn to adjust his system volume or move forward and backwards through a stream in VLC, but he also wanted to be able to repeatedly enter keyboard commands with it; something commercial offerings apparently weren’t able to do.
 So he decided to build his own USB knob that not only looks fantastic, but offers the features he couldn’t find anywhere else. It’s another project which proves that DIY projects don’t have to look DIY. In fact, they can often give their commercial counterparts a run for their money. But this “Infinity USB Knob” isn’t just a pretty face, it allows the user to do some very interesting things such as quickly undo and redo changes to see how they compare.
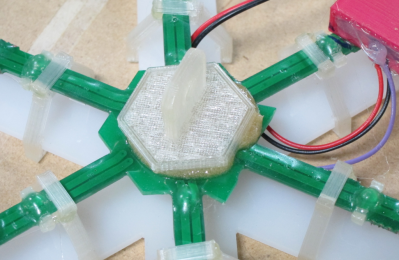
As you might imagine, the electronics for this project aren’t terribly complex. The main components are the Adafruit Trinket M0 microcontroller and the EC11 rotary encoder itself. To provide nice visual feedback he added in a NeoPixel ring, but that’s not strictly necessary if you’re trying to rig this up yourself. Though we have to say the lighting effects are a big part of what makes this build look so good.
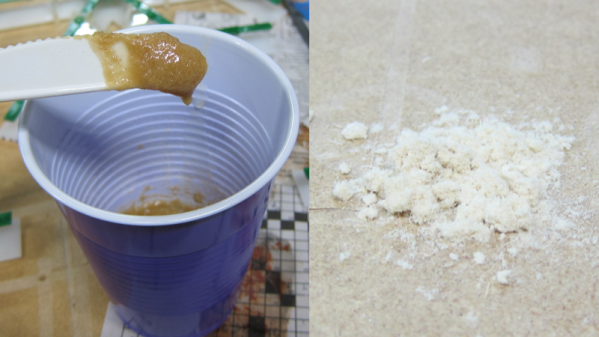
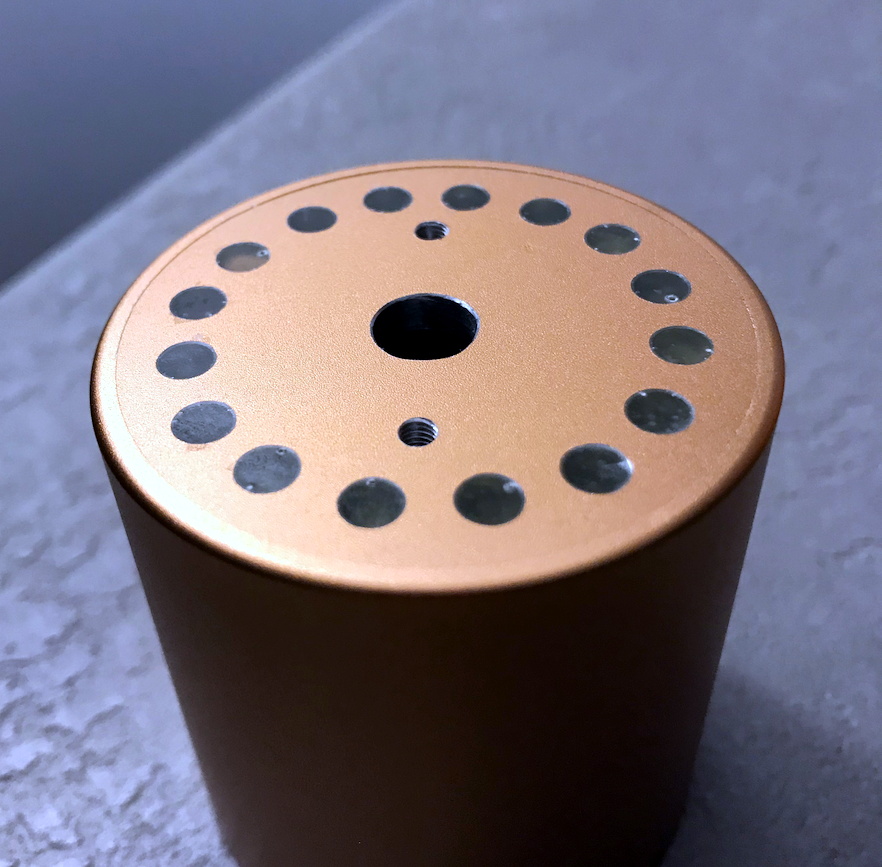
Though certainly not the only part. The aluminum enclosure, combined with the home theater style knob on the encoder, really give the finished product a professional look. We especially like his method of drilling out the top of the case and filling in the holes with epoxy to create easy and durable LED diffusers. Something to keep in mind for your next control panel build, perhaps.
[VincentMakes] has done an excellent job of documenting the hardware and software sides of this build on Hackaday.io, and gives the reader enough information that replicating this project should be pretty straightforward for anyone who’s interested. While we’ve seen several rotary encoder peripherals for the computer in the past, we have to admit this is one of the most compelling yet from a visual and usability standpoint. If this build doesn’t make you consider adding a USB knob to your arsenal, nothing will.
Continue reading “A Classy USB Knob For The Discerning Computerist”
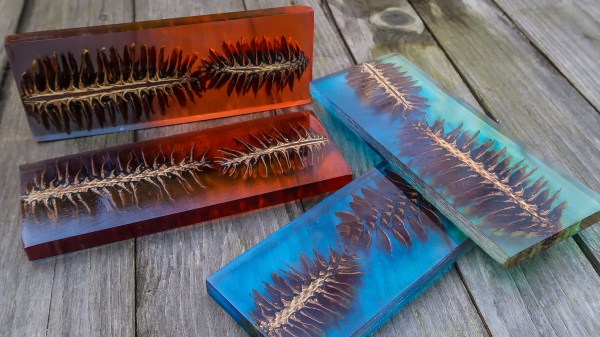
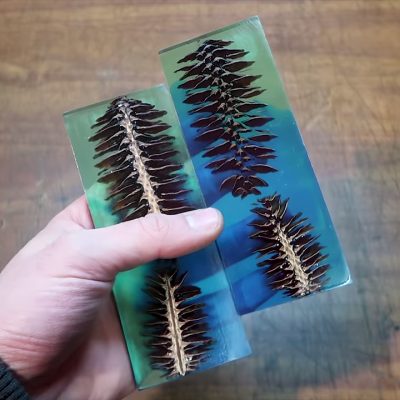 Briefly, the process is to first bake the pine cones to remove any moisture. Then they get coated in a heat-activated resin for stabilizing, which is a process that infuses and pre-seals the pine cones for better casting results. The prepped pine cones go into molds, clear resin is mixed with coloring and poured in. The resin cures inside a pressure chamber, which helps ensure that it gets into every nook and cranny while also causing any small air bubbles introduced during mixing and pouring to shrink so small that they can’t really be seen. After that is cutting, then sanding and polishing. It’s an excellent overview of the entire process.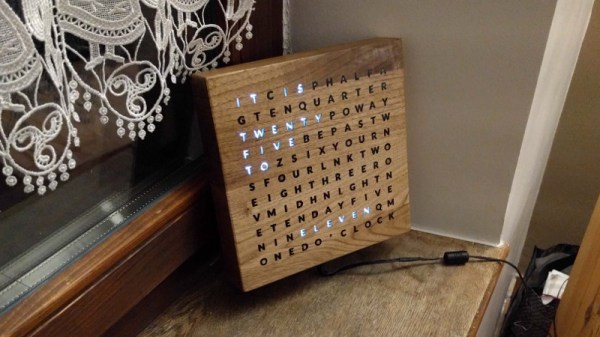
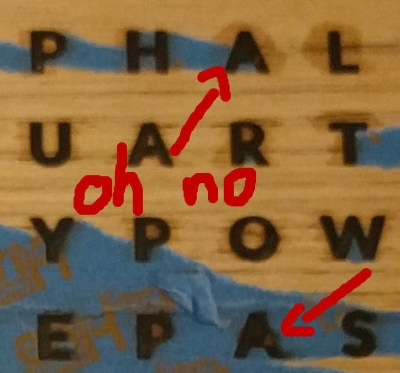 [watsaig] decided to fill all of the letters with epoxy to achieve a flat finished surface that also served as diffuser for the LEDs. To avoid using an unsightly stencil font, the centers (the cut out portion) of letters like O, A, and R had to be placed by hand. Unfortunately his turned out quite badly. When using a squeegee method to work epoxy into the letters, the inserts tended to shift, ruining the face plate.