Automakers continue to promise that fully autonomous cars are around the corner, but we’re still not quite there yet. However, there are a broad range of driver assist technologies that have come to market in recent years, with lane keeping assist being one of them. [raja_961] decided to implement this technology on an RC car, using a Raspberry Pi.
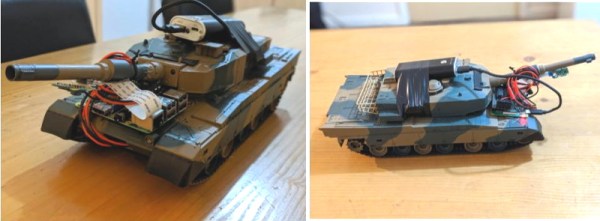
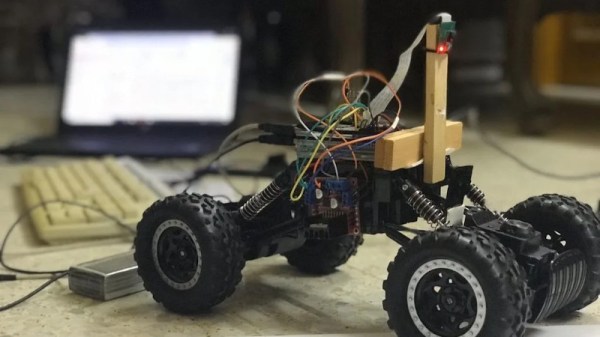
A regular off-the-shelf RC car is used as the base of the platform, outfitted with two drive motors and a third motor used for the steering. Unfortunately, the car can only turn either full-left or full-right only, limiting the finesse of the steering. Despite this, the work continued. A Raspberry Pi 3 was fitted out with a motor controller and camera, and hooked up to the chassis. With everything laced up, a Python script is used along with OpenCV to run the lane-keeping algorithm.
[raja_961] does a great job of explaining the lane keeping methodology. Rather than simply invoking a library and calling it good, instead the Instructable breaks down each stage of how the algorithm works. Incoming images are converted to the HSL color system, before a series of operations is used to pick out the apparent slope of the lane lines. This is then used with a PID algorithm to guide the steering of the car.
It’s a comprehensive explanation of a basic lane-keeping algorithm, and a great place to start if you’re interested in learning about the technology. There’s plenty going on in the world of self-driving RC cars, you just need to know where to look! Video after the break.