When the first thermal cyclers for the polymerase chain reaction came out in the 1980s, they were as expensive as a market driven by grant money could make them. Things haven’t got much better over the years, largely shutting STEM classes and biohackers out of the PCR market. That may be about to change, though, if the €99.00 PocketPCR thermal cycler takes hold.
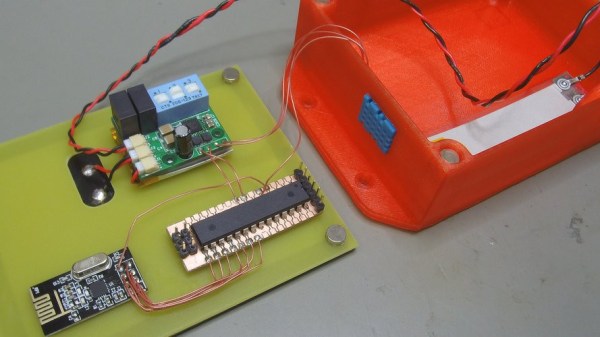
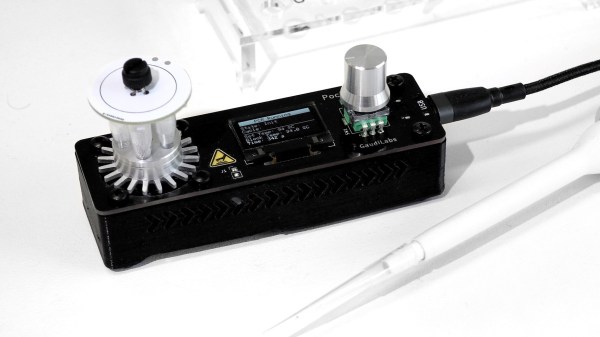
PCR amplifies DNA in a three-step process: denaturation, which melts double-stranded DNA into single strands; annealing, which lets small pieces of primer DNA bind to either side of the region of interest; and elongation, where the enzyme DNA polymerase zips along the single strands starting at the primer to replicate the DNA. The cycle repeats and copies of the original DNA accumulate exponentially. Like any thermal cycler, [Urs Gaudenz]’s PocketPCR automates those temperature shifts, using a combination of PCB-mounted heating elements and a cooling fan. The coils rapidly heat a reaction block up to the 99°C denaturation temperature, the fan brings that down to the 68°C needed for annealing, and then the temperature ramps back up to 72°C for elongation with thermostable DNA polymerase. PID loops keep the reaction temperature precisely controlled. The whole thing is, as the name suggests, small enough to fit in a pocket, and can either be purchased in kit form or scratch-built from the build files on GitHub.
We applaud [Urs]’ efforts to get the power of PCR into the hands of citizen scientists. Quick and dirty thermal cyclers are one thing, but Pocket PCR has a great fit and finish that makes it more accessible.
Thanks to [Abe Tusk] for the tip.