PixMob units are wearable LED devices intended for crowds of attendees at events like concerts. These devices allow synchronized LED effects throughout the crowd. [yeokm1] did a teardown of one obtained from a preview for the 2019 Singapore National Day Parade (NDP), and in the process learned about the devices and their infrastructure.
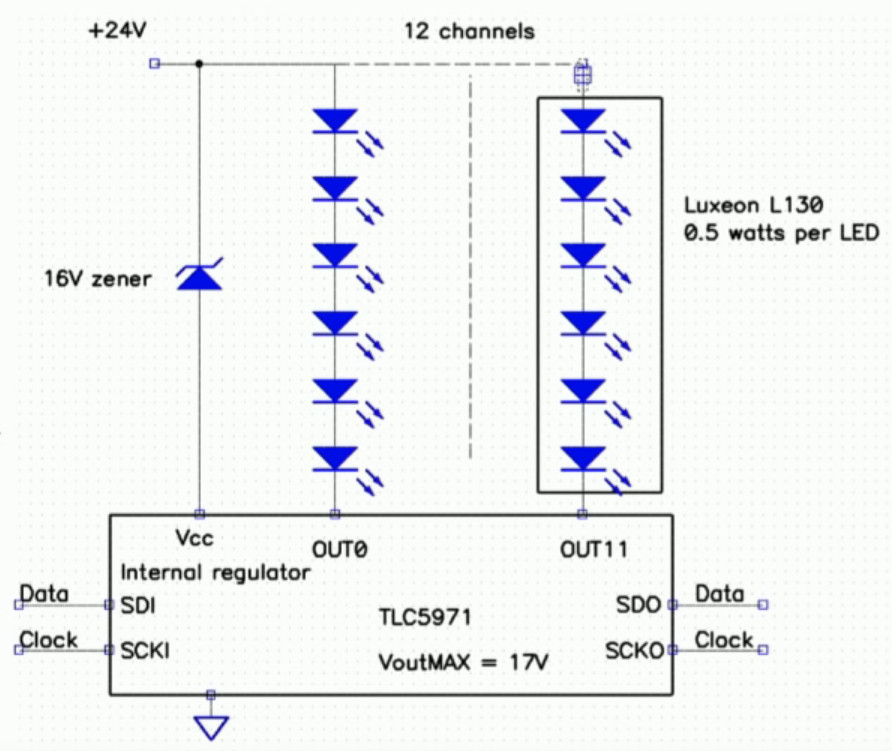
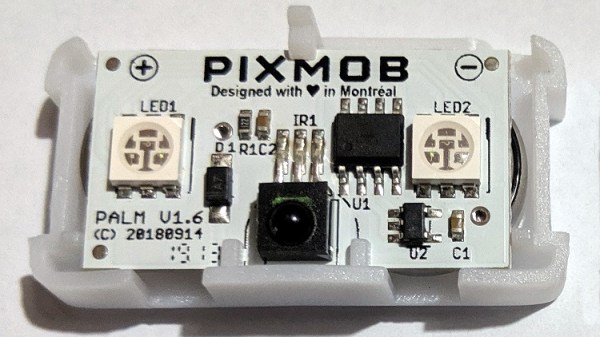
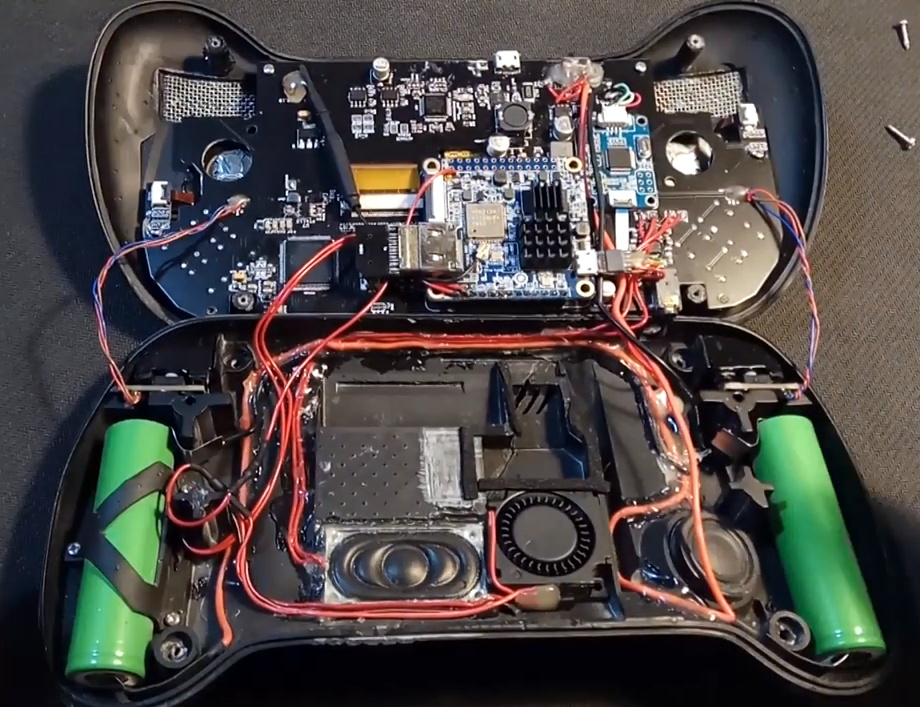
PixMob hardware has been known to change over time. This version has two RGB LEDs (an earlier version had only one), an unmarked EEPROM, an unmarked microcontroller (suspected to be the Abov MC81F4104), and an IR receiver module. Two CR1632 coin cells in series power the device. [yeokm1] has made the schematic and other source files available on the teardown’s GitHub repository for anyone interested in a closer look.
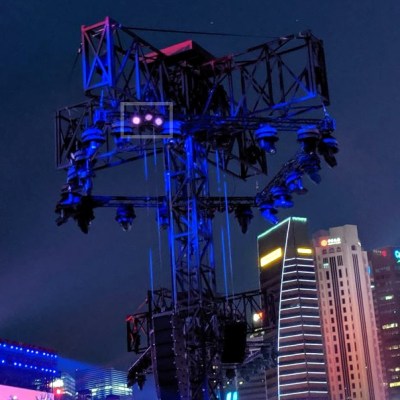
One interesting thing that [yeokm1] discovered during the event was the apparent source of the infrared emitter controlling the devices. Knowing what to look for and reasoning that such an emitter would be mounted with a good view of the crowd, [yeokm1] suspected that the IR transmitter was mounted on a lighting tower. Viewing the tower through a smartphone’s camera revealed a purplish glow not visible to the naked eye, which is exactly the way one would expect an IR emitter to look.
Sadly, there wasn’t any opportunity to record or otherwise analyze the IR signals for later analysis but it’s possible that the IR protocol might be made public at some point. After all, running custom code on an earlier PixMob board was made possible in part by asking the right people for help.
 To address this, [Doc TB] designed the