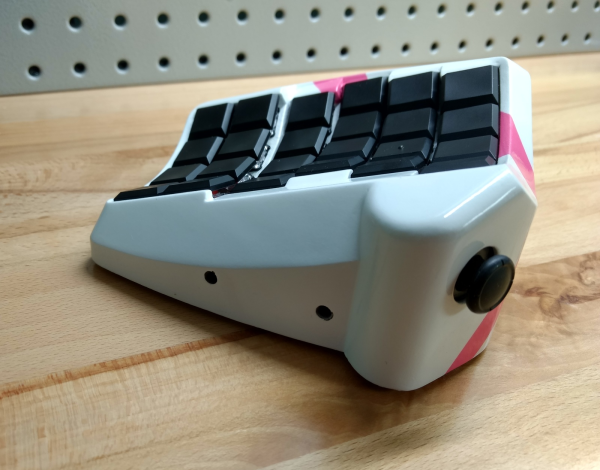
Dumpster diving is a time honored tradition in the hacking community. You can find all sorts of interesting hardware in the trash, and sometimes it’s even fully functional. But even the broken gadgets are worth taking back to your lair to strip for parts. If you’re as lucky as [Jamz], you might be able to mash a few devices together and turn them into something usable.
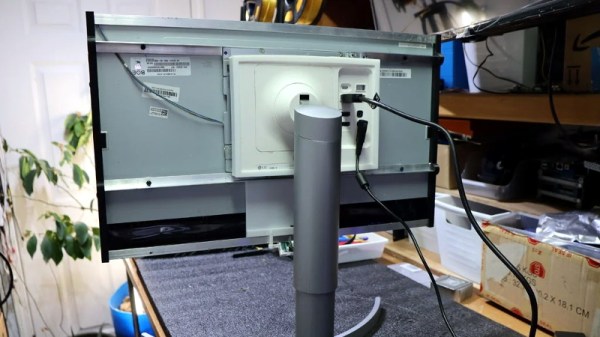
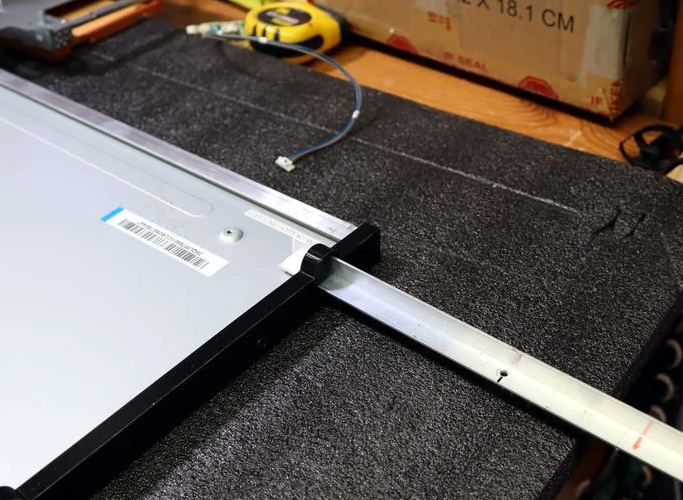 In this case, [Jamz] scored a LG 27UK650 monitor with a cracked display and a Dell OptiPlex 7440 “All-in-One” computer that was DOA. Separately these two pieces of gear were little more than a pile of spare parts waiting to be liberated. But if the control board could be salvaged from the monitor, and the working LCD pulled from the Dell…
After taking everything apart, [Jamz] made a frame for this new Frankenstein monitor using pieces of aluminum channel from the hardware store and 3D printed side panels. With the Dell LCD mounted in the skeletal frame, the control board from the LG monitor was bolted to the back and wired in. Finally the center section of the LG monitor’s back panel was cut out and mounted to the new hybrid display with a 3D printed frame.
Admittedly, these were some pretty solid finds as far as trash goes. You won’t always be so lucky. But if you can keep an open mind, the curb is littered with possibilities. How about some impressive home lighting that started life as a cracked flat screen TV?