Fidget toys all have a satisfying mechanical action to engage with, and [uhltimate]’s OTF (out the front) “fidget knife” model provides that in spades. The model snaps open and closed thanks to a clever arrangement of springs and latches contained in only three printed pieces.
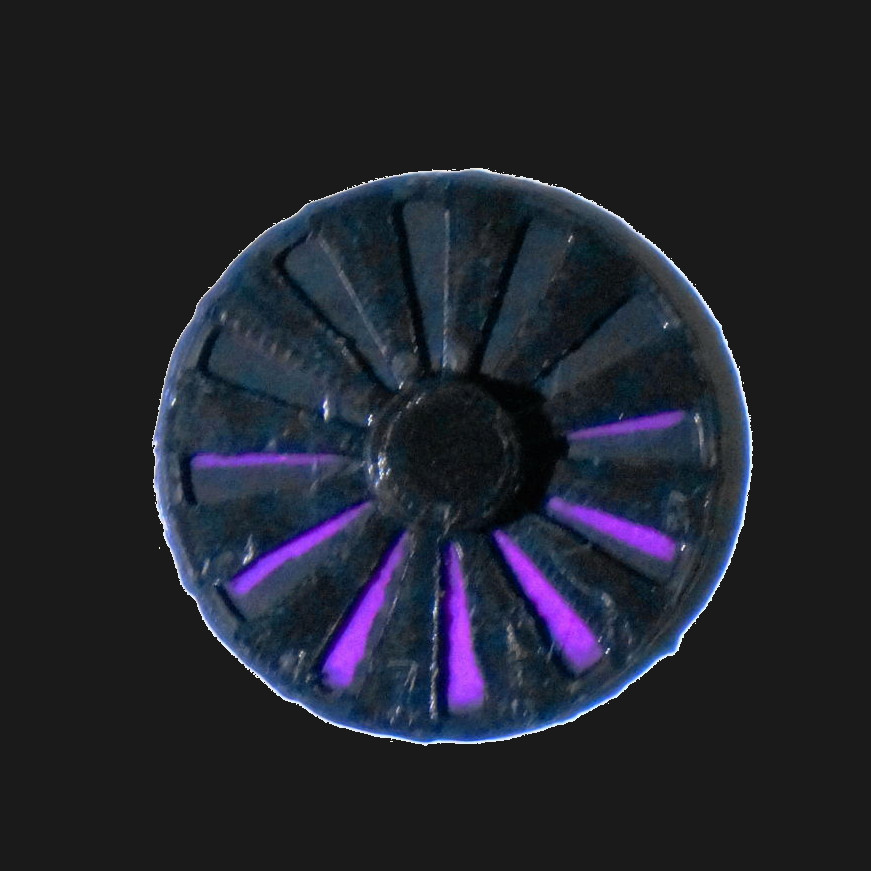
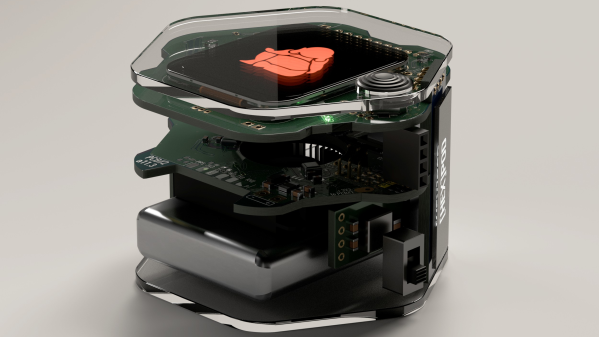
Here’s how it works: at rest, the mock blade (orange in the image above) is latched in the closed position. As one presses the slider forward, the bottom spring begins to pull up against the blade until it moves far enough to release the latch. When the latch is released, the tension built up in the spring propels the blade outward where it again latches in the open position. Retraction is the same essential process, just in the opposite direction (and using a latch on the opposite side of the blade, which faces the other direction.)
As you may imagine, effective operation depends on the material. The model is designed to be printed in PLA, but [uhltimate] also provides a part variation with a stiffer spring for those who find that basic model isn’t quite up to the task for whatever reason. Smooth surfaces are also helpful for hitch-free operation, but lubrication shouldn’t be necessary.
If this sort of thing is up your alley, don’t miss the satisfying snap action of this 3D printed toggle mechanism, either!
Continue reading “3D Printed Fidget Knife Snaps Back And Forth All Day Long”