3D printing lets the average maker tackle building anything their heart desires, really, and many have taken to using the technology for audio projects. Printable speaker and headphone designs abound. The Head(amame) headphones from [Vector Finesse] are a design that combines 3D printed parts with hi-fi grade components to create a high-end listening experience. [Angus] of Maker’s Muse decided to try printing a set at home and has shared his thoughts on the hardware.
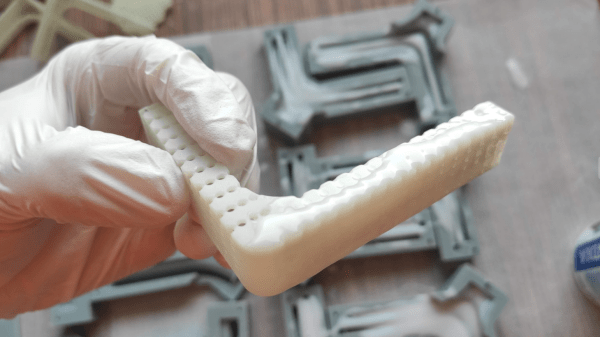
Printing the parts has to be done carefully, with things like the infill settings crucial to the eventual sound quality of the final product. Using a properly equipped slicer like CURA is key to getting the parts printed properly so the finer settings can be appropriately controlled. The recommendation is to print the pieces in PETG, which [Angus] notes can be difficult to work with, and several prints were required to get all the parts made correctly.
Assembly is straightforward enough with kits available with all the fasteners and electronic parts included. Subjectively, [Angus] found the sound quality to be impressive, with plenty of full bass and clearly defined highs. Overall, it’s a positive review in the areas of comfort and sound quality.
Detractors will note that the kit of parts costs over $100 USD alone, and that after hours of work and printing, the user is left with a set of headphones made out of obviously 3D-printed parts. It seems destined to be a product aimed at the 3D printing fanbase. If you want a set of headphones you can customise endlessly in form and color, these are ideal. If you prefer the fit and finish of a consumer-grade product, they may not be for you.
It’s a good look at a design sure to appeal to a wide set of makers out there. We’ve seen 3D printing put to good use in this realm before, too. Video after the break.
Continue reading “How Good Are The Head(amame) 3D Printed Headphones?”
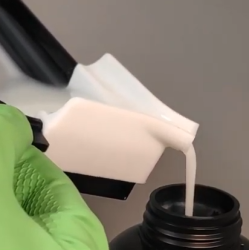 The parts [Jan] is making are interesting, as well. He observed that the process of swapping resin in his printer’s build tank was an unpleasant experience for a number of reasons, chief among them being that resin is sticky and messy, and the shape of the build tank doesn’t make pouring resin from it a clean job.