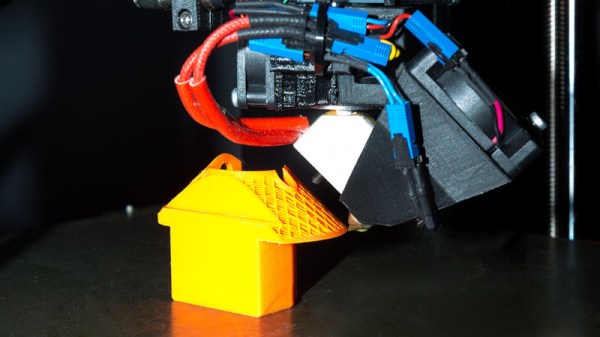
Fused Deposition Modelling (FDM) 3D printers which squirt out molten plastic layer by layer are by far the most popular type in general use. Most machines extrude plastic through a nozzle above print bed, and struggle to produce parts with overhangs without using support material. However, a German team of researchers have recently come up with a solution.
In a prototype built by researchers at the Zurich University of Applied Sciences (ZHAW), a standard Cartesian printer has a third rotary axis added, upon which the nozzle can rotate. Additionally, the nozzle is angled at 45 degrees to the print bed, rather than the usual perpendicular setup. This allows layers of a print to be built up in such a way that support material is not needed for the vast majority of typical overhangs. This is particularly useful for hollow parts, where removing support material can be particularly difficult.
The team believes that such technology could be implemented on existing printers by way of a simple upgrade kit, and we can imagine a few experimenters will be champing at the bit to try it out. If you do, be sure to drop us a line. Alternatively, consider using a marker to make removing supports easier. Video after the break.
With all the cool and useful parts you can whip up (relatively) quickly on a 3D printer, it’s a shame you can’t just print a PCB. Sure, ordering a PCB is quick, easy, and cheap, but being able to print one-offs would peg the needle on the instant gratification meter.
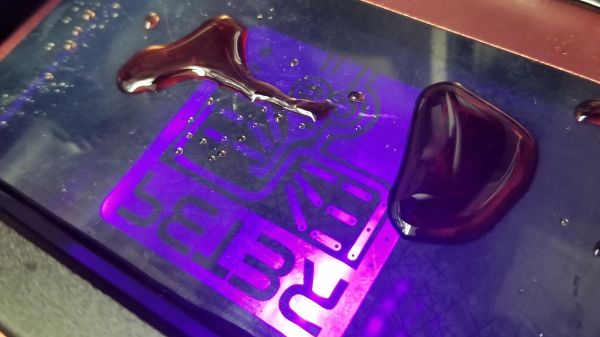
[Peter Liwyj] may just have come up with a method to do exactly that. His Instructables post goes into great detail about his method, which uses an Elegoo Mars resin printer and a couple of neat tricks. First, a properly cleaned board is placed copper-side down onto a blob of SLA resin sitting on the print bed. He tricks the printer into thinking the platform is all the way down for the first layer by interrupting the photosensor used to detect home. He lets the printer go through one layer of an STL file that contains his design, which polymerizes a thin layer of plastic onto the copper. The excess resin is wiped gently away and the board goes straight into a ferric chloride etching bath. The video below shows the whole process.
As simple as it sounds, it looks like it works really well. And [Peter] didn’t just stumble onto this method; he approached it systematically and found what works best. His tips incude using electrical tape as a spacer to lift the copper off the print surface slightly, cleaning the board with Scotchbrite rather than sandpaper, and not curing the resin after printing. His toolchain is a bit uncoventional — he used SketchUp to create the traces and exported the STL. But there are ways to convert Gerbers to STLs, so your favorite EDA package can probably fit in to the process too.
Adding a resin printer to one’s workbench has never looked so attractive, nor been so affordable. Complex shapes with effortlessly great detail and surface finish? Yes, please! Well, photos make the results look effortless, anyway. Since filament-based printers using fused deposition modeling (FDM) get solid “could be better” ratings when it comes to surface finish and small detail resolution, will a trusty FDM printer end up retired if one buys a resin printer?
The short answer is this: for users who already use FDM, a resin-based stereolithography (SLA) printer is not likely to take over. What is more likely to happen is that the filament printer continues to do the same jobs it is good at, while the resin printer opens some wonderful new doors. This is partly because those great SLA prints will come at a cost that may not always justify the extra work.
Let’s go through what makes SLA good, what it needs in return, and how it does and doesn’t fit in with FDM.
[Thomas Sanladerer] has a filament-based 3D printer and a resin one. Can the two types of raw material combine to make something better? [Thomas] did some experiments using some magnets to suspend the parts and a hot air soldering gun to heat things up.
The trick turns out to be cutting the resin with alcohol. Of course, you also need to use a UV light for curing.
The parts looked pretty good, although he did get different results depending on a few factors. To see how it would work on a practical part, he took a very large printed alien egg. The problem is, the egg won’t fit in the curing station. A few minutes with a heat sink, a drill press, and an LED module was all it took to build a handheld UV curing light.
The good news is you don’t need a resin printer to take advantage of the process — just the resin. He also points out that if you had parts which needed to maintain their dimensions because they mate with something else, you could easily mask the part to keep the resin away from those areas.
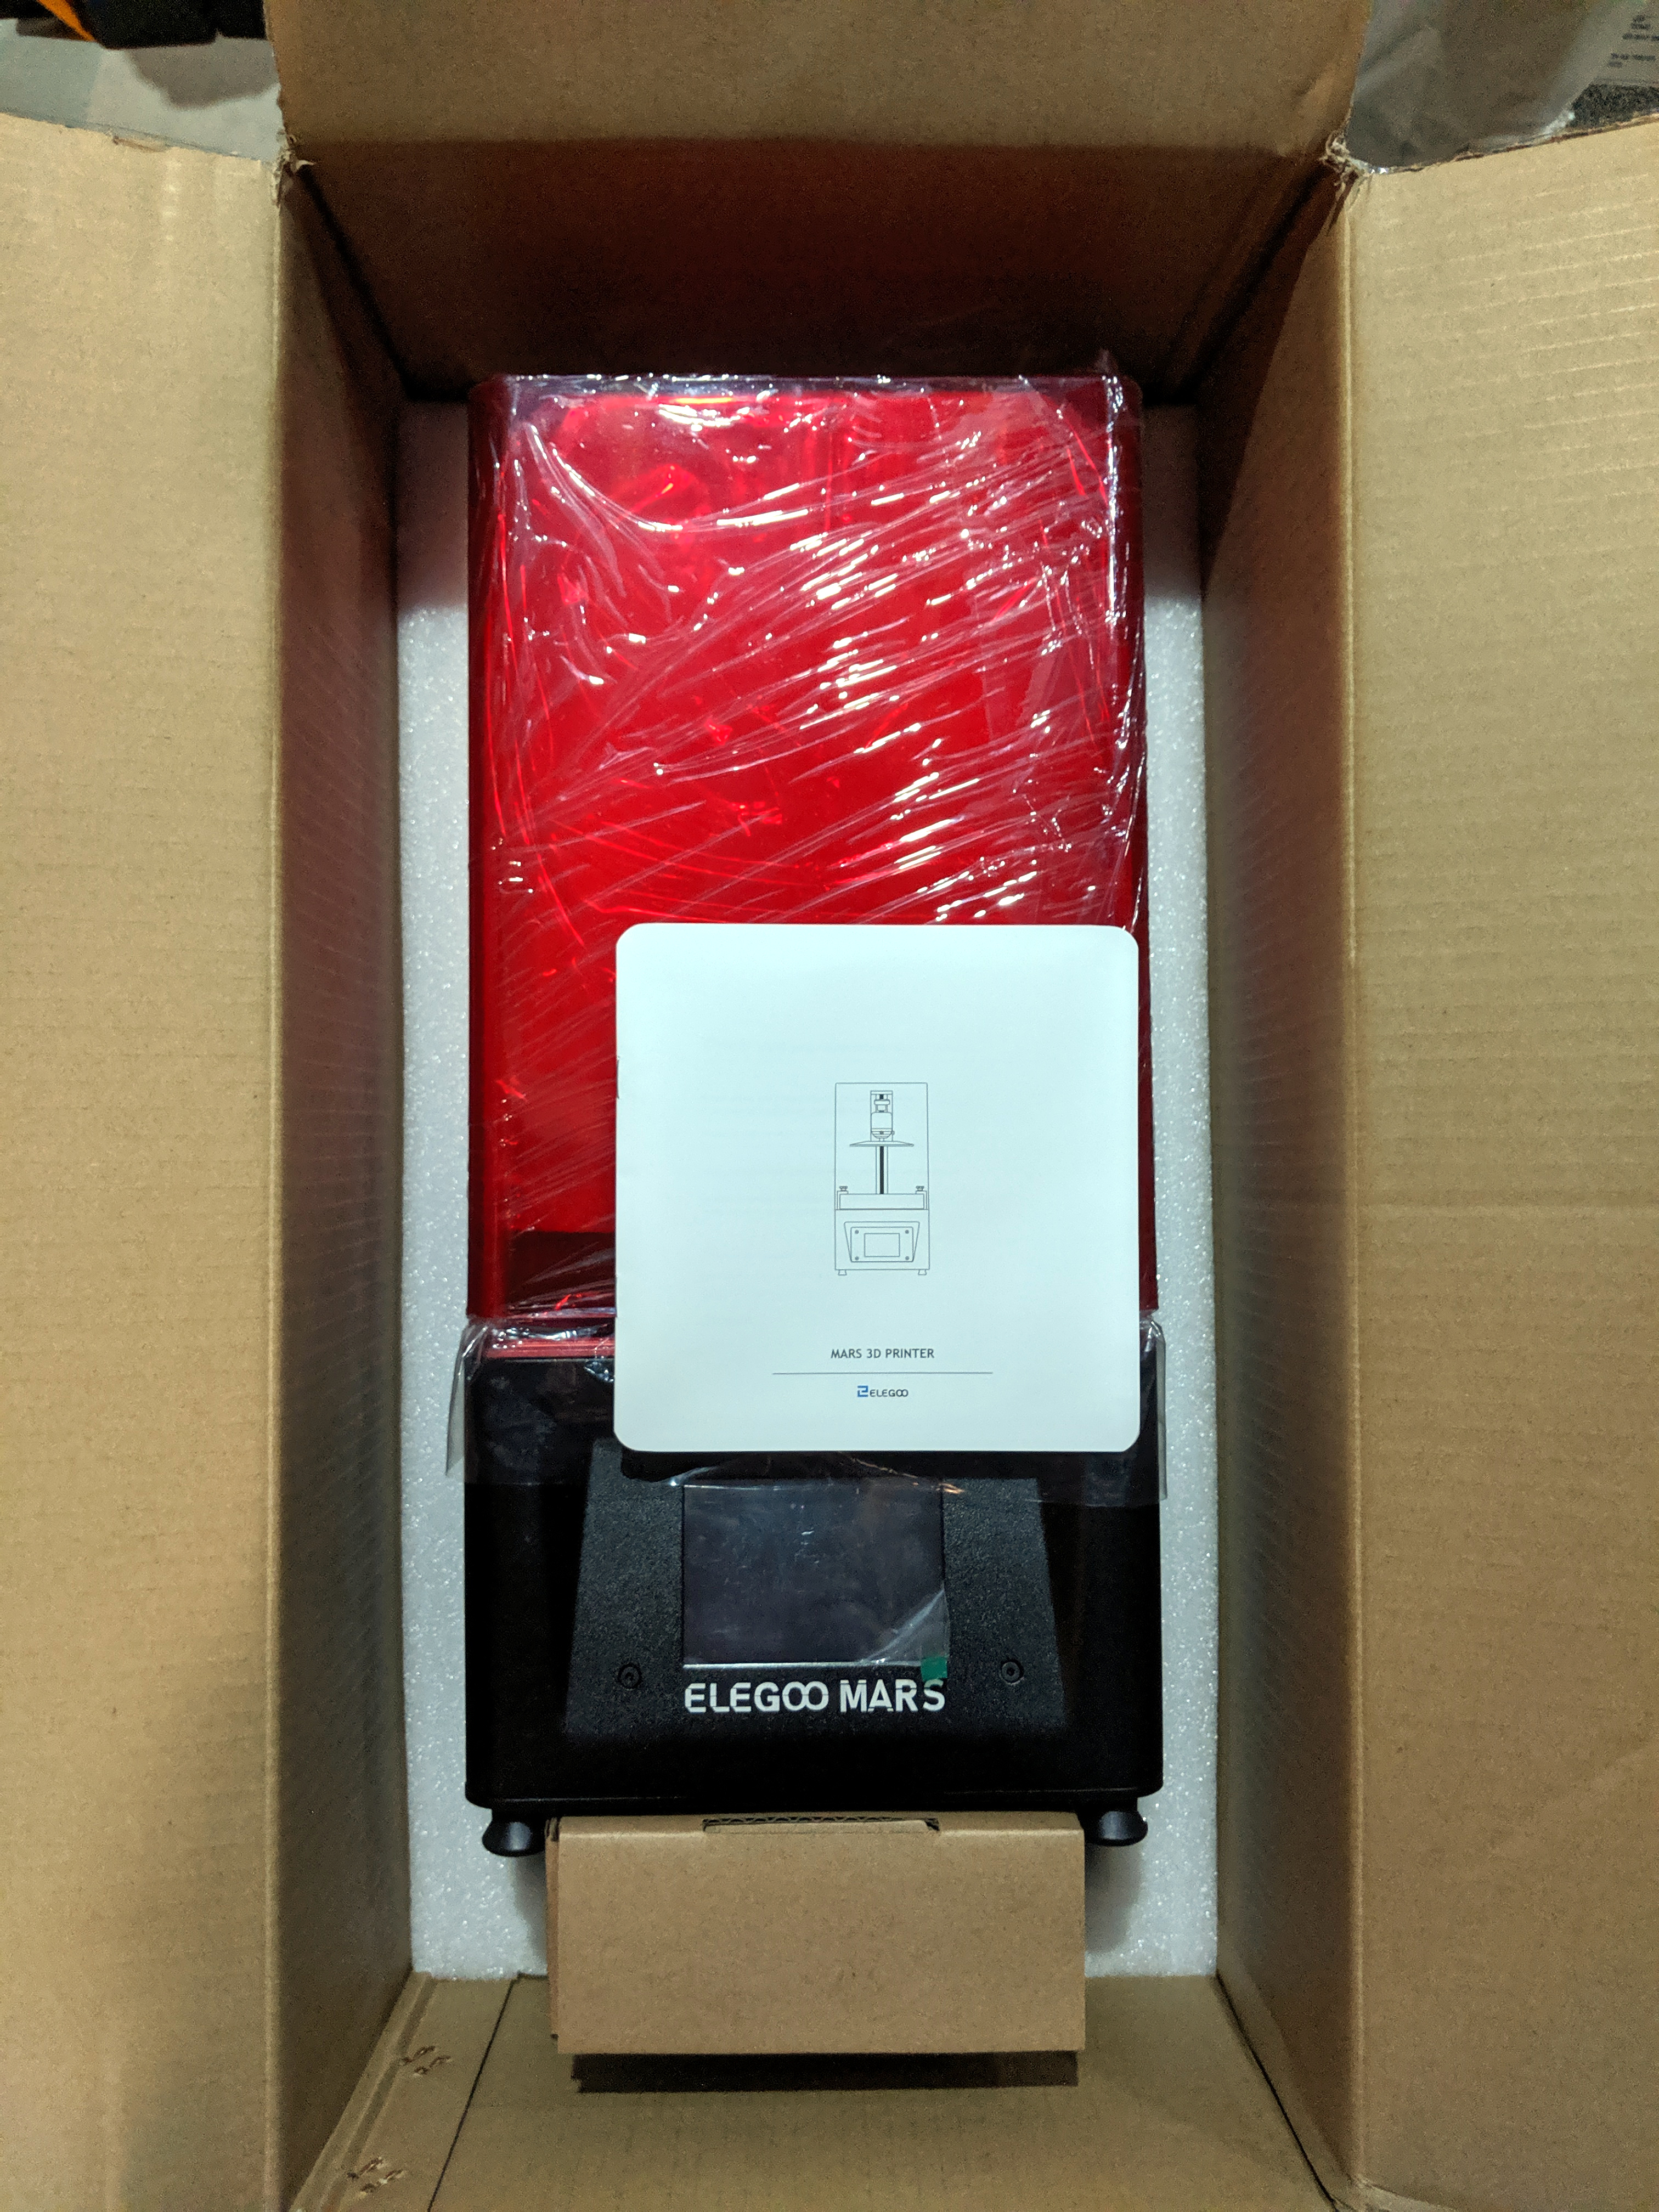
An Elegoo Mars resin 3D printer, straight to my doorstep for a few hundred bucks. What a time to be alive.
Resin-based 3D printers using digital light processing (DLP) and especially stereolithography (SLA) are getting more common and much more affordable. Prosumer-level options like Formlabs and the Prusa SL1 exist, but more economical printers like the Elegoo Mars, Anycubic Photon, and more can be had for a few hundred bucks. Many printers and resin types can even be ordered directly from Amazon, right at this moment.
Resin prints can look fantastic, so when does it make sense to move to one of these cheap resin printers? To know that, consider the following things:
The printing process and output of resin printers is not the same as for filament-based printers. Design considerations, pre-processing, and post-processing are very different.
Resin printing has a different workflow, with consumables and hidden costs beyond the price of resin refills.
It’s been fifty years since man first landed on the Moon, but despite all the incredible advancements in technology since Armstrong made that iconic first small step, we’ve yet to reach any farther into deep space than we did during the Apollo program. The giant leap that many assumed would naturally follow the Moon landing, such as a manned flyby of Venus, never came. We’ve been stuck in low Earth orbit (LEO) ever since, with a return to deep space perpetually promised to be just a few years away.
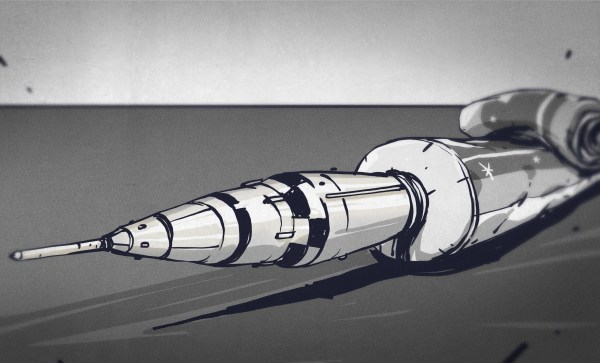
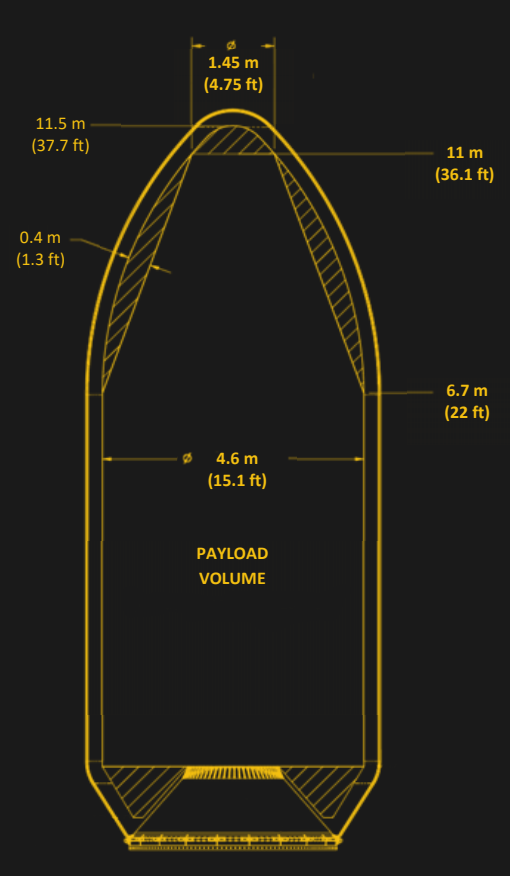
Falcon Heavy Payload Fairing
But why? The short answer is, of course, that space travel is monstrously expensive. It’s also dangerous and complex, but those issues pale in comparison to the mind-boggling bill that would be incurred by any nation that dares to send humans more than a few hundred kilometers above the surface of the Earth. If we’re going to have any chance of getting off this rock, the cost of putting a kilogram into orbit needs to get dramatically cheaper.
Luckily, we’re finally starting to see some positive development on that front. Commercial launch providers are currently slashing the cost of putting a payload into space. In its heyday, the Space Shuttle could carry 27,500 kg (60,600 lb) to LEO, at a cost of approximately $500 million per launch. Today, SpaceX’s Falcon Heavy can put 63,800 kg (140,700 lb) into the same orbit for less than $100 million. It’s still not pocket change, but you wouldn’t be completely out of line to call it revolutionary, either.
Unfortunately there’s a catch. The rockets being produced by SpaceX and other commercial companies are relatively small. The Falcon Heavy might be able to lift more than twice the mass as the Space Shuttle, but it has considerably less internal volume. That wouldn’t be a problem if we were trying to hurl lead blocks into space, but any spacecraft designed for human occupants will by necessity be fairly large and contain a considerable amount of empty space. As an example, the largest module of the International Space Station would be too long to physically fit inside the Falcon Heavy fairing, and yet it had a mass of only 15,900 kg (35,100 lb) at liftoff.
To maximize the capabilities of volume constrained boosters, there needs to be a paradigm shift in how we approach the design and construction of crewed spacecraft. Especially ones intended for long-duration missions. As it so happens, exciting research is being conducted to do exactly that. Rather than sending an assembled spacecraft into orbit, the hope is that we can eventually just send the raw materials and print it in space.
We’re no strangers to seeing translucent 3D printed parts: if you print in a clear filament with thin enough walls you can sorta see through the resulting parts. It’s not perfect, but if you’re trying to make a lamp shade or decorative object, it’s good enough. You certainly couldn’t print anything practical like viewing windows or lenses, leaving “clear” 3D printing as more of a novelty than a practical process.
But after months of refining his process, [Tomer Glick] has finally put together his guide for creating transparent prints on a standard desktop FDM machine. It doesn’t even require any special filament, he says it will work on PLA, ABS, or PETG, though for the purposes of this demonstration he’s using the new Prusament ABS. The process requires some specific print settings and some post processing, but the results he’s achieved are well worth jumping though a few hoops.
According to [Tomer] the secret is in the print settings. Essentially, you want the printer to push the layers together far closer than normal, in combination with using a high hotend temperature and 100% infill. The end result (hopefully) is the plastic being laid down by the printer is completely fused with the preceding one, making a print that is more of a literal solid object than we’re used to seeing with FDM printing. In fact, you could argue these settings generate internal structures that are nearly the polar opposite of what you’d see on a normal print.
The downside with these unusual print settings is that the outside of the print is exceptionally rough and ugly (as you might expect when forcing as much plastic together as possible). To expose the clear internals, you’ll need to knock the outsides down with some fairly intense sanding. [Tomer] says he starts with 600 and works his way up to 4000, and even mentions that when you get up to the real high grits you might as well use a piece of cardboard to sand the print because that’s about how rough the sandpaper would be anyway.
[Tomer] goes on to demonstrate a printed laser lens, and even shows how you can recreate the effect of laser-engraved acrylic by intentionally putting voids inside the print in whatever shape you like. It’s a really awesome effect and honestly something we would never have believed came off a standard desktop 3D printer.
In the past we’ve seen specialized filament deliver some fairly translucent parts, but those results still weren’t as good as what [Tomer] is getting with standard filament. We’re very interested in seeing more of this process, and are excited to see what kind of applications hackers can come up with.