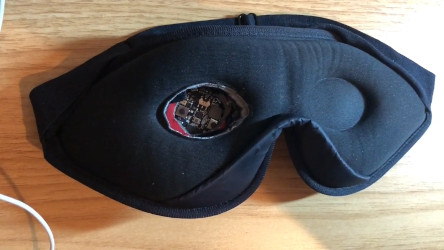
While dreams are generally thought of as the unconscious wanderings of the mind, that’s not the full story. Lucid dreams are ones in which the individual is conscious or semi-conscious in the dream state, and may be able to control the dream environment. Over the years, various devices have been used to generate these dream states more reliably. [Ben] decided to have a go at building his own, inspired by designs from the 1990s.
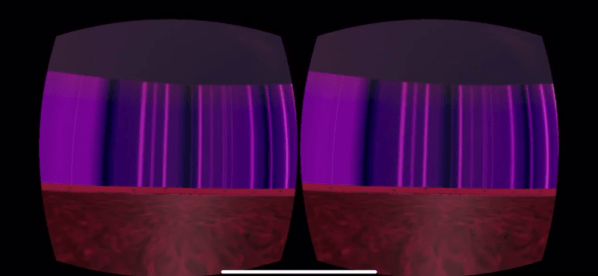
To induce lucid dreaming, the aim is to first detect that the mask wearer is in REM sleep. This is commonly done with an infrared eye tracker, which detects the rapid twitching of the eye. [Ben] used the onboard IR proximity sensor on the Adafruit Circuit Playground Express to pull this off. The accelerometer hardware was then used to detect if the wearer was still, indicating they are indeed fully asleep. Once the user is in the correct state, the mask then flashes LEDs which are intended to be visible to the wearer while dreaming. This allows them to realise they are dreaming, and thus enter a conscious, lucid state.
[Ben] doesn’t report the success rate at using the mask, but we’d love to know more about how well the mask works. We’ve seen others do similar work before, and even a recent Hackaday Prize entry. Video after the break.