There are a surprising wealth of parts inside of old laptops that can be easily scavenged, but often these proprietary tidbits of electronics will need a substantial amount of work to make them useful again. Obviously things such as hard drives and memory can easily be used again, but it’s also possible to get things like screens or batteries to work with other devices with some effort. Now, there’s also a way to reuse the trackpad as well.
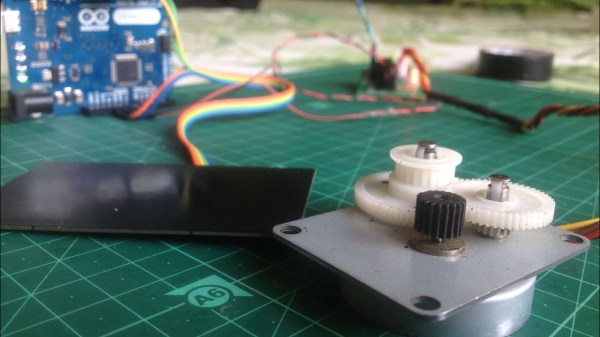
This build uses a PS/2 touchpad with a Synaptics chip in it, which integrates pretty smoothly with an Arduino after a few pins on the touchpad are soldered to. Most of the work is done on the touchpad’s built in chip, so once the Arduino receives the input from the touchpad it’s free to do virtually anything with it. In this case, [Kushagra] used it to operate a stepper motor in a few different implementations.
If you have this type of touchpad lying around, all of the code and schematics to make it useful again are available on the project page. An old laptop in the parts bin is sure to have a lot of uses even after you take the screen off, but don’t forget that your old beige PS/2 mouse from 1995 is sure to have some uses like this as well.