Watch The Honeycomb Clock Gently Track Time

We love clocks here at Hackaday, and so does [John Whittington]. Last year he created this hexagonal honey clock (or “Honock”) by combining some RGB LEDs with a laser-cut frame to create a smooth time display that uses color and placement to display time with a simple and attractive system.

The outer ring of twelve hexagons is essentially the hour hand, similar to analog clock faces: twelve is up, three is directly to the right, six is straight down, and nine is to the left. The inner ring represents ten minutes per hex. Each time the inner ring fills, the next hex (hour) on the outer ring lights up. The whole display is flooded with a minute-long rainbow at noon and midnight. Watch it in action in the video, embedded below.

Continue reading “Watch The Honeycomb Clock Gently Track Time”

Tiny Sideways Tetris On A Business Card

Everyone recognizes Tetris, even when it’s tiny Tetris played sideways on a business card. [Michael Teeuw] designed these PCBs and they sport small OLED screens to display contact info. The Tetris game is actually a hidden easter egg; a long press on one of the buttons starts it up.

It turns out that getting a playable Tetris onto the ATtiny85 microcontroller was a challenge. Drawing lines and shapes is easy with resources like TinyOLED or Adafruit’s SSD1306 library, but to draw those realtime graphics onto the 128×32 OLED using that method requires a buffer size that wouldn’t fit the ATtiny85’s available RAM.

To solve this problem, [Michael] avoids the need for a screen buffer by calculating the data to be written to the OLED on the fly. In addition, the fact that the smallest possible element is a 4×4 pixel square reduces the overall memory needed to track the screen contents. As a result, the usual required chunk of memory to use as a screen buffer is avoided. [Michael] also detailed the PCB design and board assembly phases for those of you interested in the process of putting together the cards using a combination of hot air reflow and hand soldering.

PCB business cards showcase all kinds of cleverness. The Magic 8-Ball Business Card is refreshingly concise, and the project that became the Arduboy had milled cutouts to better fit components, keeping everything super slim.

One-key Keyboard Is Exercise In Sub-millimeter Design

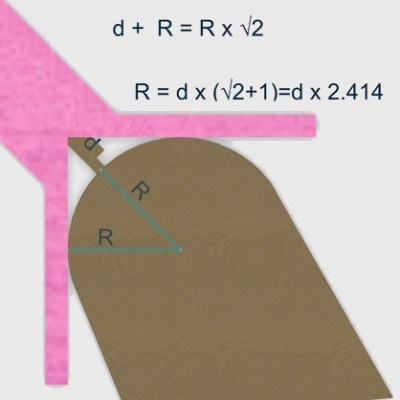
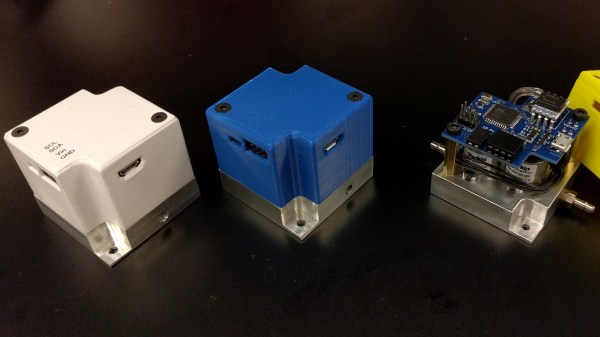
As [Glen] describes it, the only real goal in his decision to design his single-key USB keyboard was to see how small he could build a functional keyboard using a Cherry MX key switch, and every fraction of a millimeter counted. Making a one-key USB keyboard is one thing, but making it from scratch complete with form-fitting enclosure that’s easy to assemble required careful design, and luckily for all of us, [Glen] has documented it wonderfully. (Incidentally, Cherry MX switches come in a variety of qualities and features, the different models being identified by their color. [Glen] is using a Cherry MX Blue, common in keyboards due to its tactile bump and audible click.)

[Glen] steps though the design challenges of making a device where seemingly every detail counts, and explains problems and solutions from beginning to end. A PIC16F1459, a USB micro-B connector, and three capacitors are all that’s needed to implement USB 2.0, but a few other components including LED were added to help things along. The enclosure took some extra care, because not only is it necessary to fit the board and the mounted components, but other design considerations needed to be addressed such as the depth and angle of the countersink for the screws, seating depth and clearance around the USB connector, and taking into account the height of the overmold on the USB cable itself so that the small device actually rests on the enclosure, and not on any part of the cable’s molding. To top it off, it was also necessary to adhere to the some design rules for minimum feature size and wall thicknesses for the enclosure itself, which was SLS 3D printed in nylon.

PCB, enclosure, software, and bill of materials (for single and triple-key versions of the keyboard) are all documented and available in the project’s GitHub repository. [Glen] also highlights the possibility of using a light pipe to redirect the embedded LED to somewhere else on the enclosure; which recalls his earlier work in using 3D printing to make custom LED bar graphs.

3D Printering: When An STL File Is Not Quite Right

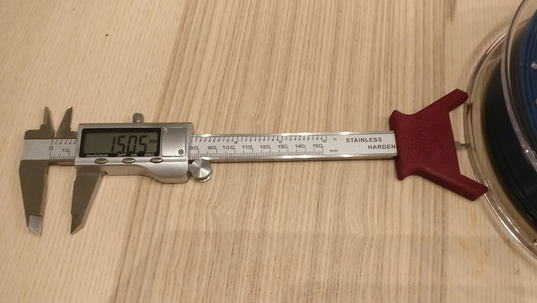
STL files are everywhere. When there’s something to 3D print, it’s probably going to be an STL. Which, as long as the model is good just as it is, is no trouble at all. But sooner or later there will be a model that isn’t quite right in some way and suddenly project progress hits a snag.

When models interface with other physical things, those other components may not always be exactly as the designer expected. Being mindful about such potential inconsistencies during the design phase can help prevent problems, but it’s not always avoidable. The reason it’s a problem is because an STL file represents a solid model as a finished unit; it is not really intended to be rolled back into CAD programs for additional design changes.

STL files can be edited, but just like re-modeling a component from scratch, it can be a tricky process for those who don’t live and breathe this stuff. I’ll describe a few common issues related to STLs that can hold up getting that new project together, along with ways to deal with them. Thanks to 3D printing becoming much more commonplace, basic tools are within reach of even the least CAD-aware among us.

Continue reading “3D Printering: When An STL File Is Not Quite Right”

Gorgeous NickelBot Serves Up Lasered Wooden Nickels

[bdring] just recently completed his absolutely fantastic NickelBot, which is a beautifully made unit that engraves small wooden discs with a laser like some kind of on demand vending machine, and it’s wonderful. NickelBot is small, but a lot is going on inside. For example, there’s a custom-designed combination engraving platform and hopper that takes care of loading a wooden nickel from a stack, holding it firm while it gets engraved by a laser, then ejects it out a slot once it’s done.

NickelBot is portable and can crank out an engraved nickel within a couple of minutes, nicely fulfilling its role of being able to dish out the small items on demand at events while looking great at the same time. NickelBot’s guts are built around a PSoC5 development board, and LaserGRBL is used on the software side to generate G-code for the engraving itself. Watch it work in the video embedded below.

Continue reading “Gorgeous NickelBot Serves Up Lasered Wooden Nickels”

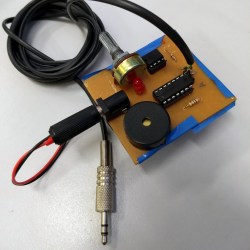
IR Detective Eases Development With Compact Decoding

Hardware development often involves working with things that can’t be directly perceived, which is one reason good development tools are so important. In appreciation of this, [David Johnson-Davies] created the IR Remote Control Detective to simplify working with IR signals. While IR remote controls are commonplace, there are a number of different protocols and encoding methods in use across different brands. The IR Detective takes care of all of that with three main components, none of which are particularly expensive. To use the decoder, one simply points an IR remote at the unit and presses one of the buttons. The IR Detective will identify the protocol, decode the signal, and display the address and command related to the key that was pressed. The unit doesn’t consist of much more than an ATtiny85 microcontroller, a small OLED display, and an IR receiver unit. The IR receiver used is intended for a 38 kHz carrier, but such receivers can and do respond to signals outside this frequency, although they do so at a reduced range.

As a result, not only is the unit useful for decoding IR or verifying that correct signals are being generated, but the small size and low cost means it could easily be used as a general purpose receiver to add IR remote control to other devices. It’s also halfway to bridging IR to something else, like this WiFi-IR bridge which not only interfaces to legacy hardware, but does it across WiFi to boot.

3000W Unicycle’s Only Limitation Is “Personal Courage”

Electric vehicles are fertile ground for innovation because the availability of suitable motors, controllers, and power sources makes experimentation accessible even to hobbyists. Even so, [John Dingley] has been working on such vehicles since about 2009, and his latest self-balancing electric unicycle really raises the bar by multiple notches. It sports a monstrous 3000 Watt brushless hub motor intended for an electric motorcycle, and [John] was able to add numerous touches such as voice feedback and 1950’s styling using surplus aircraft and motorcycle parts. To steer, the frame changes shape slightly with help of the handlebars to allow the driver’s center of gravity to shift towards one or the other outer rims of the wheel. In a test drive at a deserted beach, [John] tells us that the bike never went above 20% power; the device’s limitations are entirely by personal courage. Watch the video of the test, embedded below.

Continue reading “3000W Unicycle’s Only Limitation Is “Personal Courage””