Make A Better, Spring-Loaded SMT Tape Strip Holder

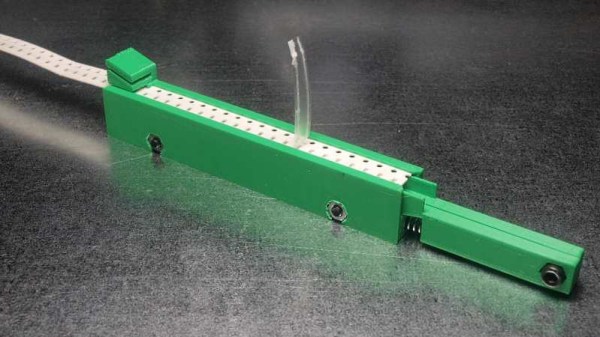
Every so often, a project is worth some extra work to see if the idea can go any further. [JohnSL] has been busy doing exactly that with his spring-loaded SMT tape holder project. Having done the original with 3D printing, he has been working on designing for injection molding. This isn’t a motorized feeder, it’s still a manual tool but it is an improvement over the usual workshop expedient method of just sticking segments of tape down to the desktop. Tape is fed into the holders from one end and spring tension holds the tape firm while a small slot allows the cover tape to be guided backward after peeling. As anyone who has used cut segments of tape to manually deal with SMT parts knows, small vibrations — like those that come from peeling off the clear cover — can cause the smaller components to jump around and out of their pockets, and any length of peeled cover gets awkward quickly.
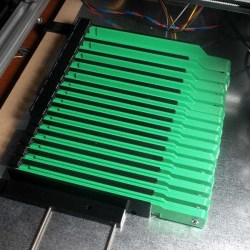
The design allows for multiple holders to mount side-by-side.

In [JohnSL]’s design, all SMT tapes sit at an even height regardless of size or tape thickness. A central support pushes up from the bottom with tension coming from a spring pulling sideways; the central support is forced upward by cams and presses against the bottom surface of the tape. As a result, the SMT tape gets supported from below with even tension and the whole assembly maintains a narrow profile suitable for stacking multiple holders side by side. The CAD files are available online along with a McMaster-Carr part number for the specific spring he used.

After working out the kinks on 3D printed prototypes, [JohnSL] decided to see if it would be feasible to design an injection molded version and made a video outlining the process, embedded below.

Continue reading “Make A Better, Spring-Loaded SMT Tape Strip Holder” →
Not So Simple LED Upgrade For Microscope

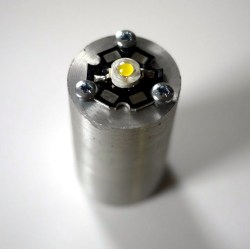
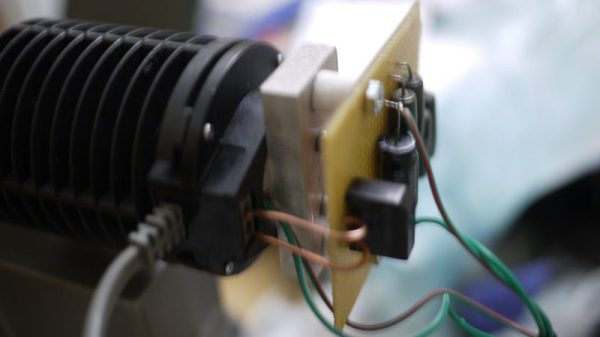
[Amen] obtained a microscope whose light source was an incandescent bulb, but the light from it seemed awfully dim even at its brightest setting. Rather than hunt down a replacement, he decided to replace the bulb with a 1W LED mounted on a metal cylinder. The retrofit was successful, but there were numerous constraints on his work that complicated things. The original bulb and the LED replacement differed not just in shape and size, but also in electrical requirements. The bulb was also part of an assembly that used a two-pronged plug off to the side for power. In the end, [Amen] used 3D printing, a bit of metal work, and a bridge rectifier on some stripboard to successfully replace his microscope’s incandescent bulb assembly with an LED. He even used a lathe to make connector pins that mated properly with the microscope’s proprietary power connector, so that the LED unit could be a drop-in module.

Working on existing equipment always puts constraints on one’s work, usually due to space limitations, but sometimes also proprietary signals. For example, a common issue when refitting a projector with an LED is to discover that the projector expects a stock bulb, and refuses to boot up without one. Happily, the microscope didn’t care much about the bulb itself, and with the LED positioned in roughly the same position as the original bulb’s filament [Amen] obtained smooth and even lighting across the field of view with no changes made to the microscope itself.

Easy Time-lapse Video Via Phone And Command Line

A good time-lapse video can be useful visual documentation, and since [Tommy]’s phone is the best camera he owns he created two simple shell scripts to grab time-lapse images and assemble them into a video. [Tommy]’s work is just the glue between two other things: an app that turns the phone into an IP camera with a web server on the local network, and the ability to grab a still image from that server on demand.

The app he uses for his iPhone normally serves video but has an undocumented feature that allows single frames to be downloaded by adding ‘/photo’ to the end of the URL, but the ability to get a still image is a common feature on IP camera apps for smartphones. His capture script (GitHub repository here) should therefore need only minor changes to work with just about any IP camera app.

Perching a phone over a workspace and using it to create a time-lapse with a couple of shell scripts is a great example of combining simple tools to get better functionality. It could be a good way to get additional use out of an older smartphone, too. Heck, even older dumbphones can still get some use out of them; Shmoocon 2017 brought us details on rolling your own 1G network.

Rolling Robot With Two Motors, But None Are On The Wheels

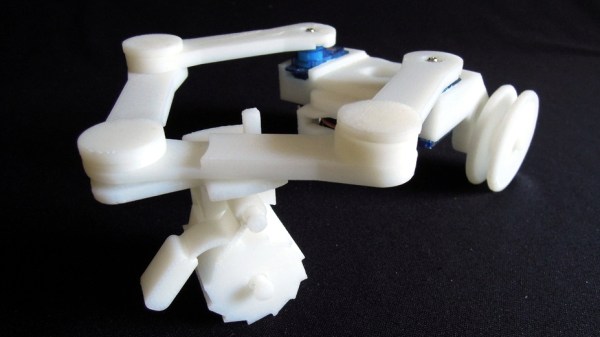
This unusual 3D printed Rolling Robot by [ebaera] uses two tiny hobby servos for locomotion in an unexpected way. The motors drive the front wheel only indirectly, by moving two articulated arms in a reach-and-retract motion similar to a breaststroke. The arms are joined together at the front, where a ratcheting wheel rests underneath. When the arms extend, the wheel rolls forward freely. When the arms retract, the wheel’s ratchet locks and the rest of the body is pulled forward. It looks as though extending one arm more than the other provides for rudimentary steering.

The parts are all 3D printed but some of them look as though they might be a challenge to print well due to the number of small pieces and overhangs. A short video (embedded below) demonstrates how it all works together; the action starts about 25 seconds in.

Continue reading “Rolling Robot With Two Motors, But None Are On The Wheels” →

Man-in-the-Middle Jog Pendant: Two Parts Make Easier Dev Work

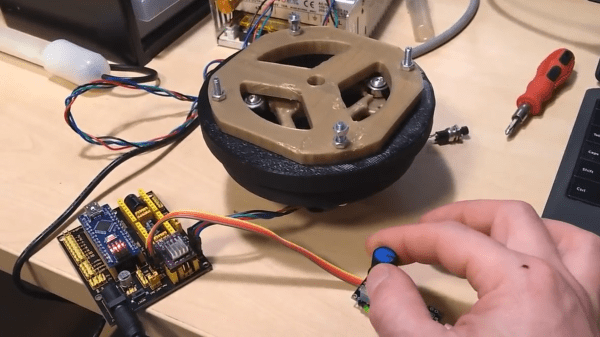
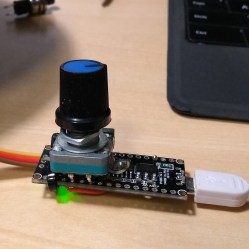
In a project, repetitive tasks that break the flow of development work are incredibly tiresome and even simple automation can make a world of difference. [Simon Merrett] ran into exactly this while testing different stepper motors in a strain-wave gear project. The system that drives the motor accepts G-Code, but he got fed up with the overhead needed just to make a stepper rotate for a bit on demand. His solution? A grbl man-in-the-middle jog pendant that consists of not much more than a rotary encoder and an Arduino Nano. The unit dutifully passes through any commands received from a host controller, but if the encoder knob is turned it sends custom G-Code allowing [Simon] to dial in a bit acceleration-controlled motor rotation on demand. A brief demo video is below, which gives an idea of how much easier it is to focus on the nuts-and-bolts end of hardware when some simple motor movement is just a knob twist away.
Continue reading “Man-in-the-Middle Jog Pendant: Two Parts Make Easier Dev Work” →

See This Slick RC Strandbeest Zip Around

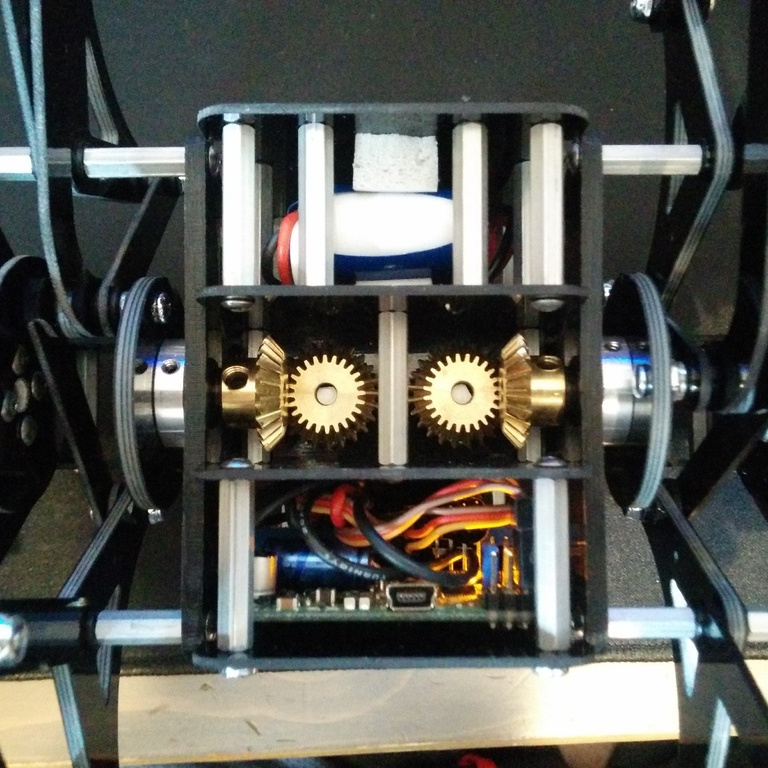
Bevel gears used to mount motors vertically.

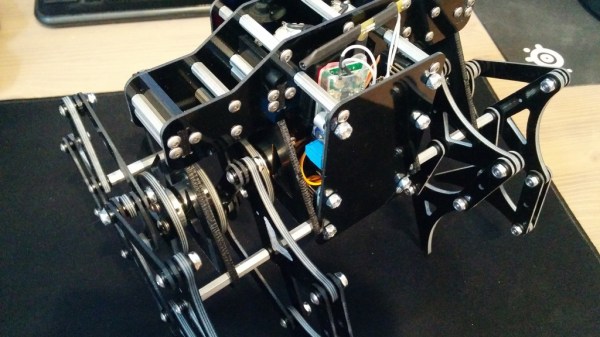
Theo Jansen’s Strandbeest design is a favorite and for good reason; the gliding gait is mesmerizing and this RC version by [tosjduenfs] is wonderful to behold. Back in 2015 the project first appeared on Thingiverse, and was quietly updated last year with a zip file containing the full assembly details.

All Strandbeest projects — especially steerable ones — are notable because building one is never a matter of simply scaling parts up or down. For one thing, the classic Strandbeest design doesn’t provide any means of steering. Also, while motorizing the system is simple in concept it’s less so in practice; there’s no obvious or convenient spot to actually mount a motor in a Strandbeest. In this project bevel gears are used to mount the motors vertically in a central area, and the left and right sides are driven independently like a tank. A motor driver that accepts RC signals allows the use of an off the shelf RC transmitter and receiver to control the unit. There is a wonderful video of the machine zipping around smoothly, embedded below.

Continue reading “See This Slick RC Strandbeest Zip Around” →

Electronics Workbench Goes Vertical With Pegboard Mounting

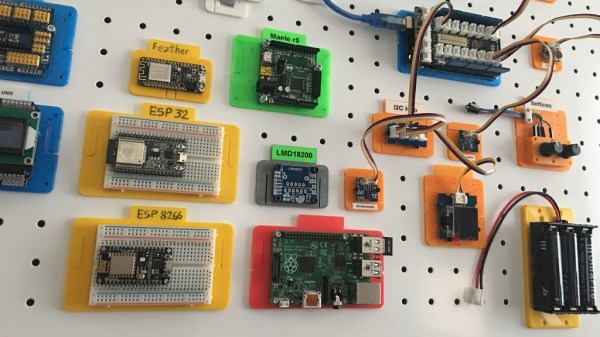
[JesusGomez] has certainly put work into his Vertical Laboratory concept. There’s a bit more to the idea than simply using 3D printed parts to move electronics from the desktop onto a metal pegboard, although that part is certainly nicely done. There are 3D models for securely mounting various hardware such as Raspberry Pi, Beaglebone, ESP32, cable management, breadboards, and other common parts to a metal pegboard. Instead of having parts and wires splayed across a workbench, it can be mounted and organized vertically. Having a project or prototype mounted on pegboard is easier to store, saves room, and frees up desk space in small work areas. It also makes for an organized and visually pleasing layout.

A clever piece of design is in the plastic mounts that he created. He wanted parts to remain securely mounted unless intentionally removed, allow different mounting orientations, and to never require access to the back side of the pegboard. To accomplish this, the parts use a combination of pegs that slide-lock with bendable sections that act as lock tabs. Once mounted, the parts stay put until the lock tabs are released by gently prying them out of position. Since mounting and removal can be done entirely from the front, wall mounted pegboards with inaccessible backs can be used.

Metal pegboard has its uses, even if the more common dead-tree version shows up more often in projects from DIY vacuforming to making a modular work surface for when space is at an absolute premium.